
This post may contain affiliate links, which means if you click and make a purchase through these links, I may earn a commission at no extra cost to you. Read my full disclosure here.
Go to my library to get free SVG files for making your own dollhouse miniatures!
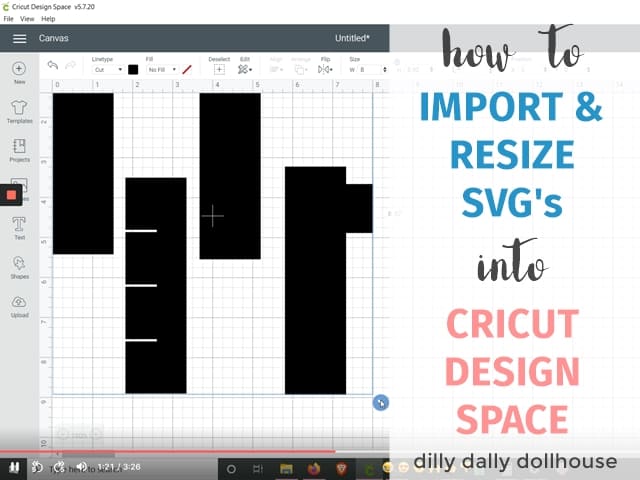
Here is a quick video tutorial on how to import and resize SVG files into Cricut Design Space. You can watch it on YouTube if you’re unable to watch it here.
These are the general steps to take to import and resize dollhouse miniature SVG files into Cricut Design Space:
- Download and save the SVG file into your computer.
- Open a blank Canvas in Design Space.
- Upload the file into Design Space, and Insert image into the Canvas.
- Design Space can be funky… the imported files might show really tiny or really huge. You might get an error message of “Image too large”. No worries, just read on.
- While keeping the entire file grouped:
- Change the size of the file to between 6 to 10 inches wide (keeping the ratio locked), so it’s closer to its intended size.
- Change the file X,Y coordinates to 0,0 so you can see the file on the canvas
- Drag to resize the grouped components so that the test square measures 1.00 inch (use the grid as a rough guide)
- Ungroup the file to check the test square. If the test square is still too far from 1 inch, regroup or select all the components and drag to resize again until it gets to 1.00 inch.
- If you have the exact sizes of each element, it’s best to punch in those exact measurements. This makes sure the cut pieces will fit as intended.
- Make the necessary duplicates of each element as needed to make your pieces.
Hope this helps!