This dollhouse miniature lips sofa literally kisses your doll’s derriere! 🤣 Sorry, can’t help it.
Like most others, I get inspirations from real-life furniture images from the internet, but I also hoard borrow many home decor books from the library. One of the furniture that caught my attention while browsing these books was a lips sofa (and I keep picturing Diane Von Fusternburg sitting on it!), and I thought… wouldn’t that be a fun mini to make? (And yes, it was!)
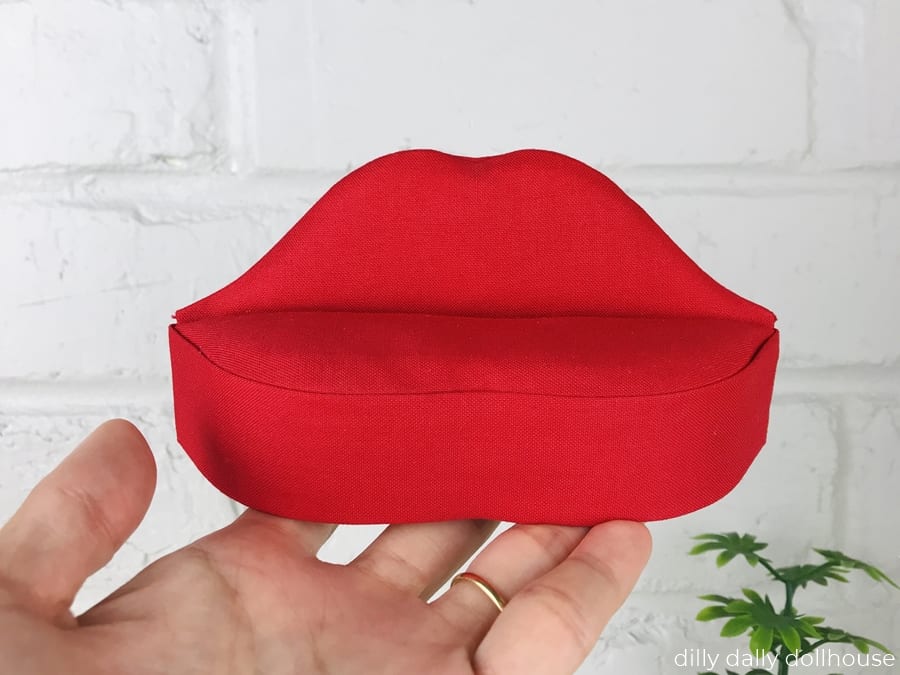
It’s actually a fairly simple project as it only consists of two parts: the seat and the back. Probably the most challenging part is making the seat, as it requires multiple layers of chipboard. But with a Cricut Maker and my SVG template, it’s as easy as pressing the “Make It” button! Okay, fine, there are a few steps to get there, like making duplicates etc, but it sure beats cutting manually!
DESIGN NOTES FOR MINIATURE LIPS SOFA
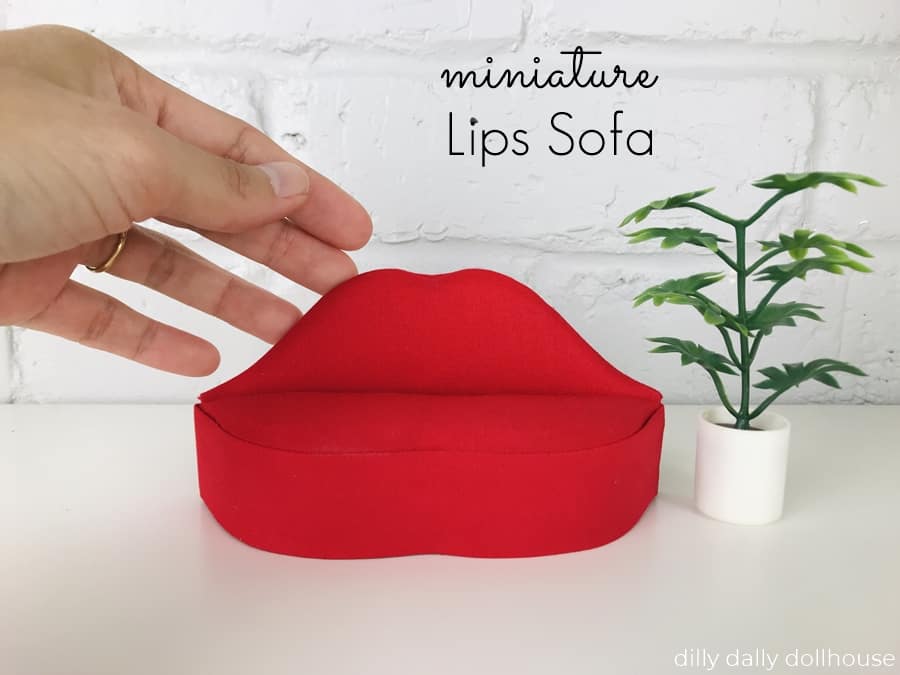
The lips sofa is in 1:12 scale, measuring at 2.75″ tall and 5.5″ wide. It can be resized larger or smaller, though you’ll also want to adjust the seat height.
For 1:12 scale, the seat height should be about and no more than 1.25″ before the batting. Using 1.5mm chipboard, it will take about 21 layers. You can also use several layers of foam core for the seat, though you would have to cut it manually.
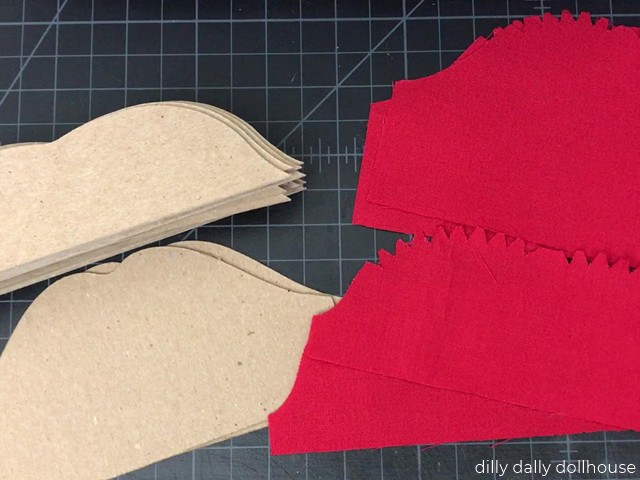
The fabric templates include 0.25″ allowance and pre-notched!
SVG file is available in my Etsy shop!
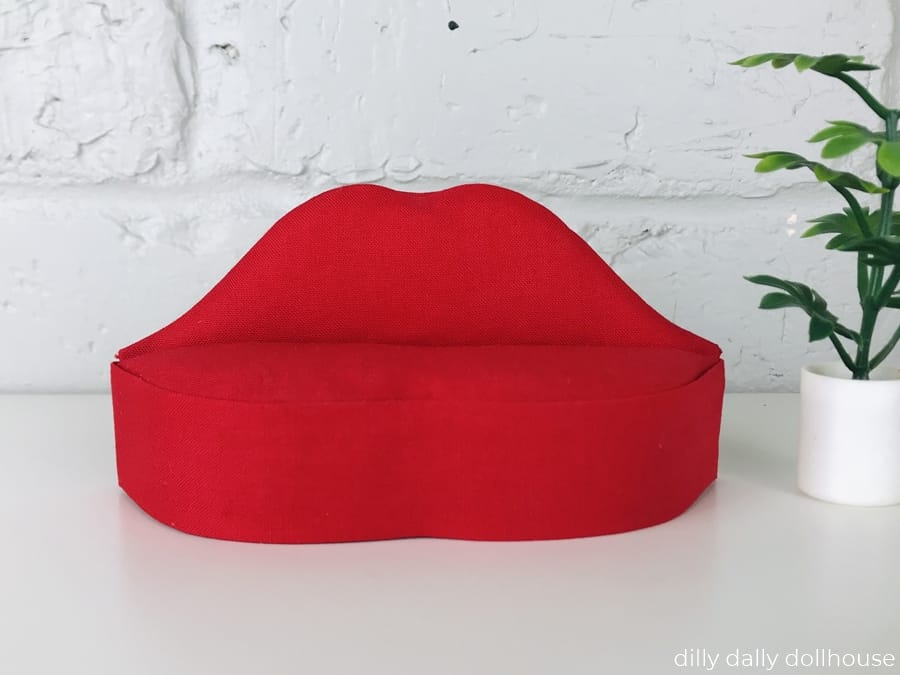
Tip: If you are resizing the sofa to a smaller scale, my suggestion is to make the fabrics slightly bigger, to keep the seam allowance at 0.25″ or more. So if you are resizing to 75% to get 1:16 Lundby scale, resize the fabric parts to 80%. To resize to 50% to get 1:24 scale, resize the fabrics to 58% to 60%. Wider seam allowance makes it easier to glue down the fabric.
IMPORTING THE SVG FILES INTO CRICUT DESIGN SPACE
To import the SVG file into Cricut Design Space, head on to this post or watch this video on YouTube.
TOOLS & MATERIALS TO MAKE MINIATURE LIPS SOFA
This miniature lips sofa need the following materials:
- Chipboard (1.5mm or 2mm) to make the seat. I used almost 2 sheets of 1.5mm. You can also use foam core.
- Kraft Cardstock (about 0.024″, which is about 0.6mm) to make the back.
- Cardstock (about 80lb or so) for hiding the layers of the seat.
- Batting for seat and back cushion.
- Fabrics in lip colors. I used some basic solid-red cotton fabric.
And for tools and other supplies:
- Cricut Maker with:
- Purple StrongGrip mat and Knife blade to cut the chipboard.
- Green StandardGrip mat and Fine-point blade to cut the cardstock.
- Pink FabricGrip mat and Rotary blade (link TBD) to cut the fabric (or, cut manually with fabric scissors or a rotary cutter).
- Glues. I used these:
- Elmer’s craft bond glue stick for layering the seat
- Wood glue for the fabric (hey… it works!). Apply sparingly with a toothpick!
CUTTING LIST FOR 1:12 SCALE
- 21 pieces of SEAT out of 1.5mm chipboard
- Option: if using 2mm chipboard, cut 15 to 16 pieces
- Option: if using Foam Core, cut as many as you need to make just about 1.25″ high when stacked
- 2 pieces of BACK using Kraft cardstock
- 2 pieces of FABRIC SEAT
- 2 pieces of FABRIC BACK
- 1 piece of fabric strip at 2.5″ wide, about 14″ long
- 1 piece of cardstock at 1.25″ wide, about 8″ long
ASSEMBLING THE MINIATURE LIPS SOFA
Check out the assembly video here or on YouTube!
Step 1: Cut all the materials
Refer to the above cutting list.
Step 2: Prepare the fabrics
For best results, iron out all wrinkles.
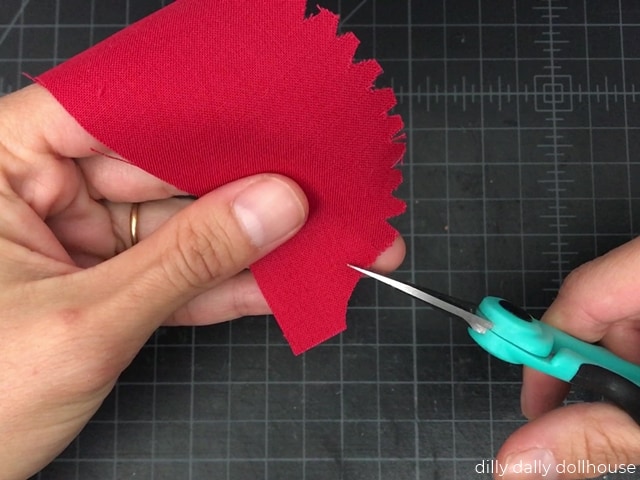
If you’re using the SVG + Cricut Maker, the notches are already done for you. Add short snips (less than the 0.25″ seam allowance) along the convex curves on all 4 pieces of fabrics.
Fold the fabric strip lengthwise so that the edges meet in the middle, then iron the folds. You’ll end up with a strip of 1.25″ wide. This will go in the front of the seat.
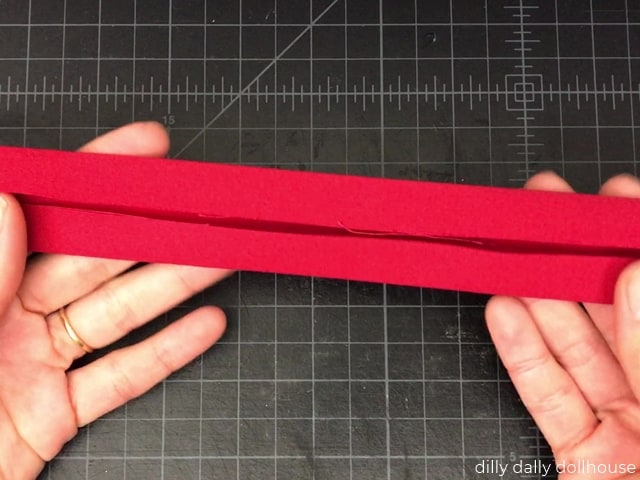
Step 3: Prepare the seat
Glue and stack the 21 layers of seat one by one. Do your best to keep the layers aligned. I used a Duplo block and the grids on my mat to help keep everything straight. When done, it should be about 1.25″ tall (slightly less is okay).
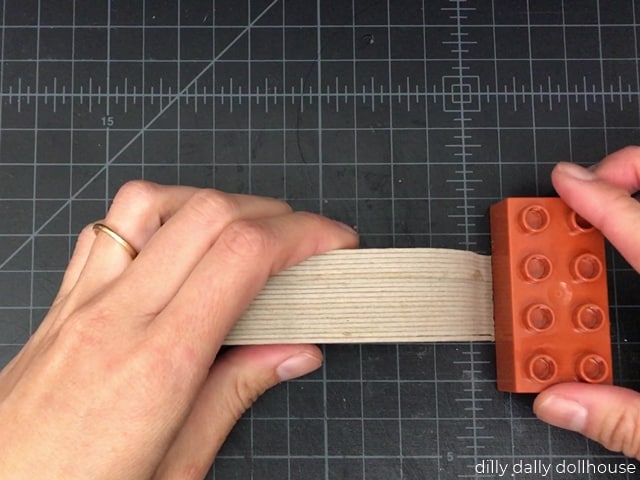
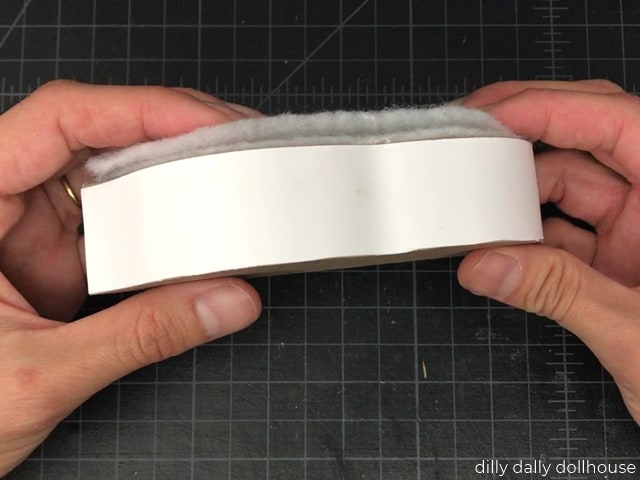
Next, add the batting onto the seat. I used two layers of batting to make the sofa look well padded.
Then, cover the front of the seat with the white cardstock. It helps to hide the grooves of the layers from being visible through the fabric. Trim off excess cardstock
Step 4: Cover the seat with fabric
Glue down the fabric to the sides of the seat. Work your way from the curved middle to the side and back, checking the padded top side frequently to make sure it stays smooth.
Snip off excess fabric in the corners and glue down as neatly as possible.
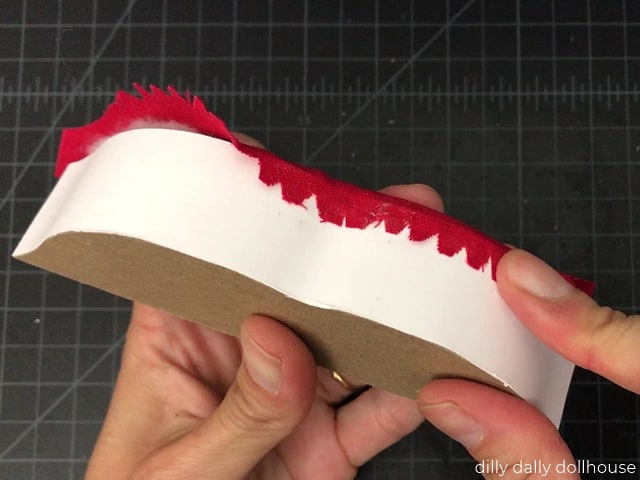
Repeat for the bottom of the seat.
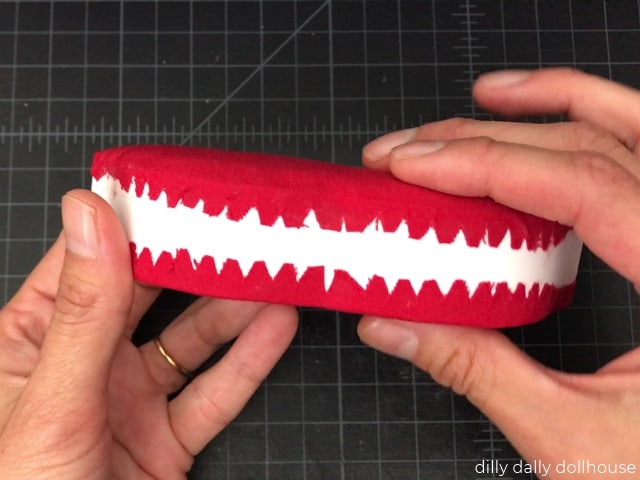
Then, wrap the folded fabric strip around the seat, and snip off excess fabric to minimize overlap in the back.
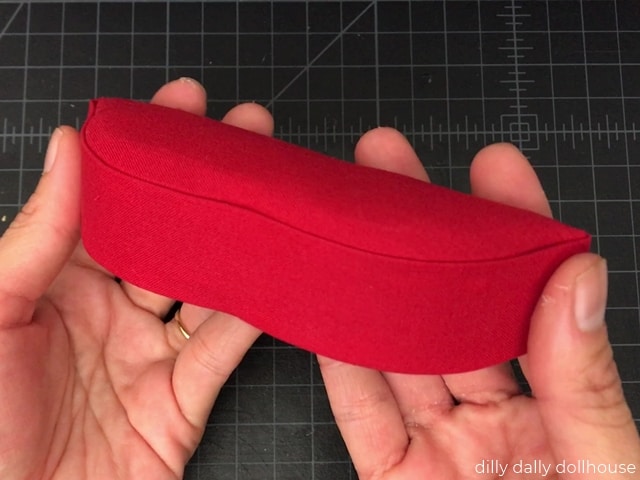
Tip: If you get glue on a prominent spot of the fabric, try to remove it by scrubbing it gently with a damp toothbrush.
Step 5: Prepare the back
Mark the seat height line at 1.25″ from the bottom, which is also the top corners. Add the batting just on the top part of the back. I also used two layers of batting here.
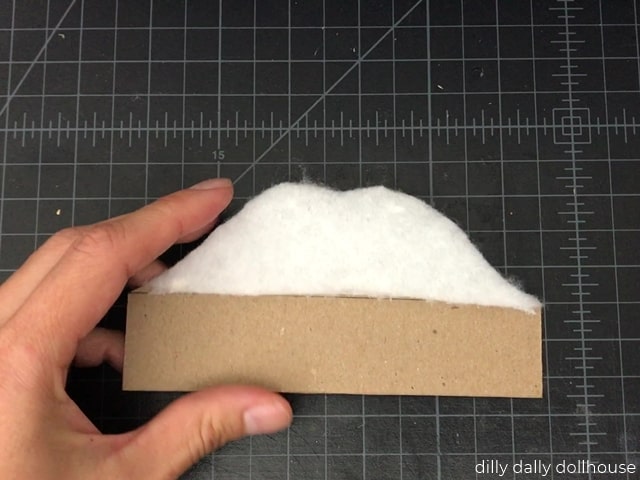
Next, wrap up the padded side with the fabric. Start at the curved middle and working your way out to the sides and around. Check the padded front frequently to make sure it stays smooth. Snip off excess fabrics at the corners and flatten with glue.
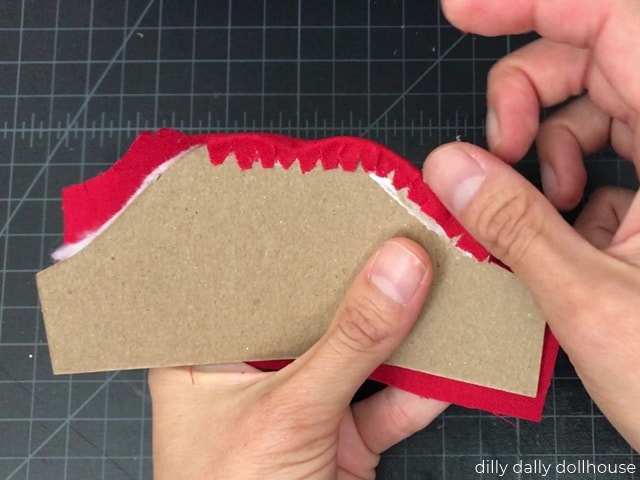
The second piece of the back won’t need any batting. Simply wrap it up with fabric.
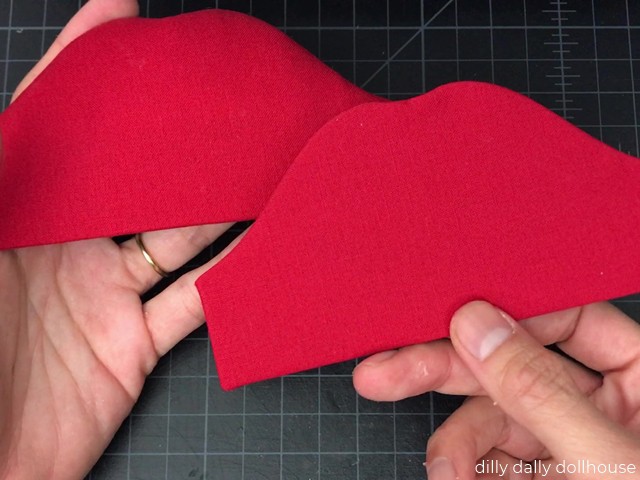
Then sandwich the two backs together, making sure the sides covered with fabrics are facing out.
Step 6: Attach the back to the seat
Apply glue on the back part of the seat, and attach it to the lower part of the back.
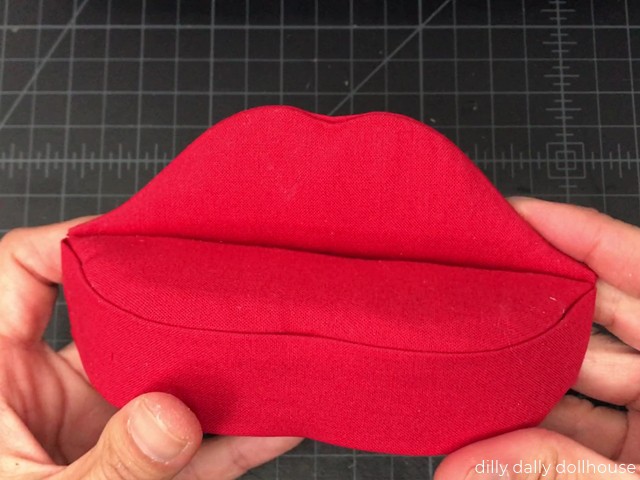
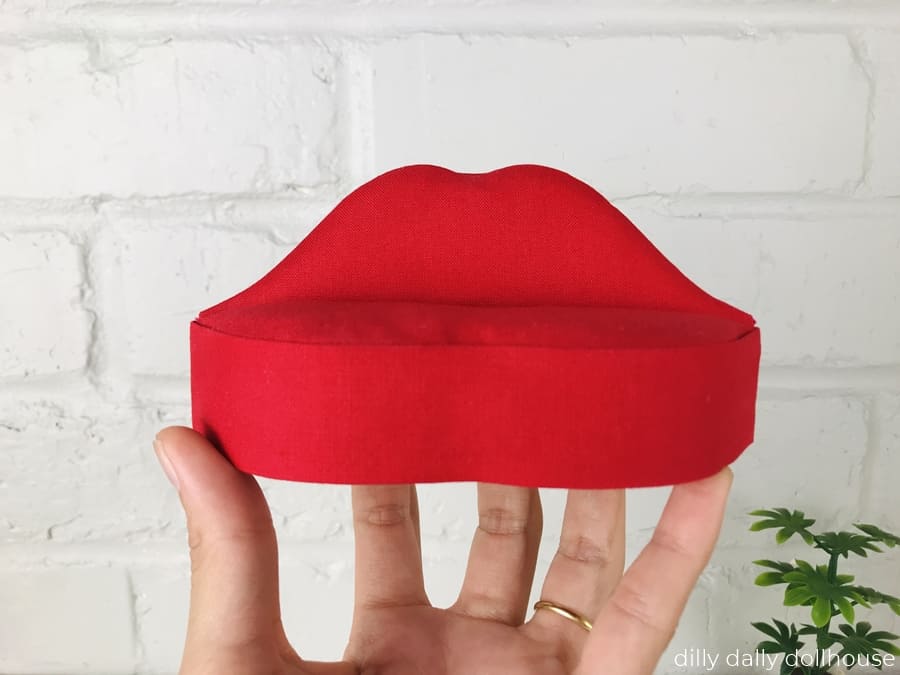
COMPLETE!
Now your dollhouse inhabitants can throw a groovy 70’s party and chat around (and about) this miniature lips sofa!
RELATED PROJECTS
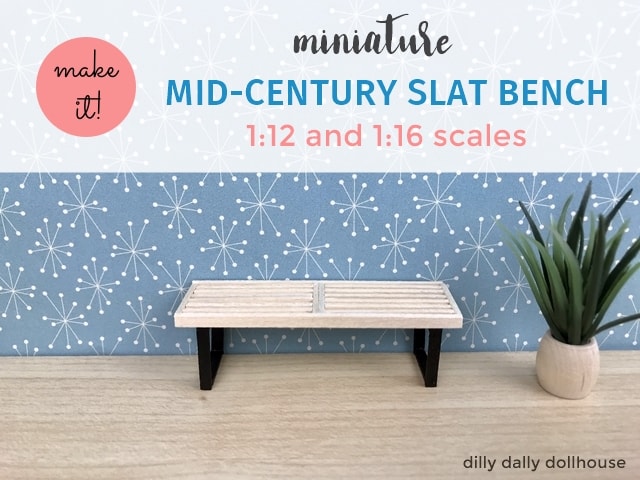
Miniature Slat Bench/Coffee Table ~ 1:16 and 1:12 scales (Tutorial)
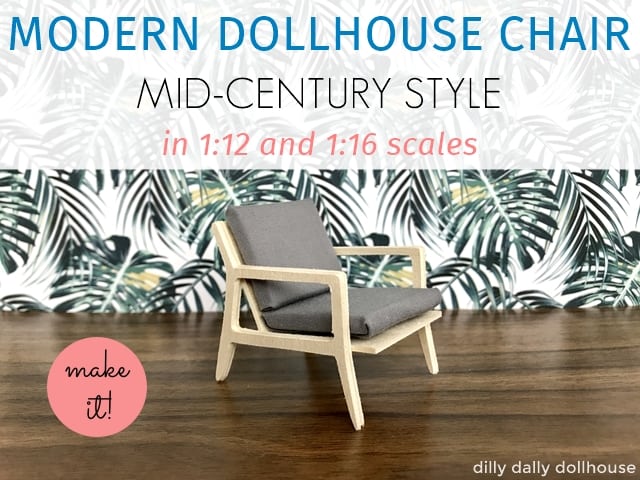
Modern Dollhouse Chair – Tutorial and Templates for 1:12 and 1:16 scales
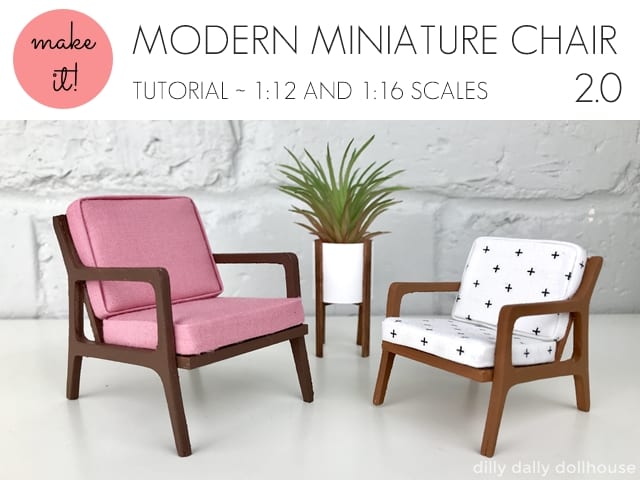
Modern Miniature Chair 2.0 – New & Improved! (Tutorial + SVG file)
Made your own? I’d love to know!
What motivates me the most is seeing you use my tutorials to make your own minis! There are many ways you can share your projects:
- comment below to let me know (or if you have any questions about it–for the benefit of others also!)
- link back to my site or this tutorial,
- tag me on Facebook or Instagram,
- share your version on my Facebook group!

Looks like a fun project. Thanks!
Thanks Judy!