
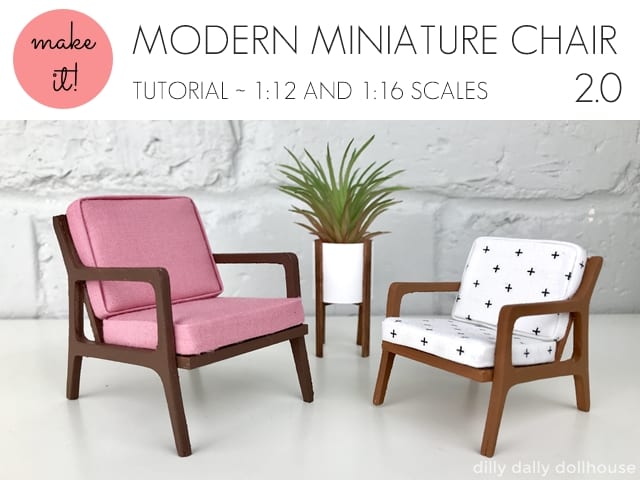
You may have seen my original design of modern miniature chair floating around on the interwebs. It’s a pretty good first chair, but I tweaked the design to make it even better.
Want to know what improvements were made to this 2.0 version?
- The new SVG cut file can work with 1/8″ (3mm) material. If you use a laser cutter and prefer to use 1/8″ wood, you’ll be able to use this new and improved version. I don’t have a laser cutter and just simply double-layered 1/16″ (1,5mm) basswood.
- The new SVG file is cleaner, with fewer awkward corners. The legs are thicker, which means less breakage when using delicate basswood.
- We now have a tutorial for making a proper, better boxed cushions.
The tutorial below is for making the modern miniature chair using 1/16″ basswood with Cricut Maker. Though you can always use a different machine… simply change the material accordingly (max 1/8″ or 3mm thick) and add/reduce the number of layers as needed.
I made a little time-lapse video of the assembly! You can watch it below or on YouTube 🤗
DESIGN NOTES FOR MODERN MINIATURE CHAIR
As mentioned, the new design of this modern miniature chair works with both 1/16″ (1,5mm) or 1/8″ (3mm) materials. Since I don’t have a laser cutter, I tested it by double-layering 1/16″ basswood and it turned out great.
The SVG files are available to purchase from my Etsy shop! 🤗
Love free stuff? The Resource Library is where I keep my digital freebies… such as SVG cut files, dollhouse printables, and other miniature templates. It’s my thank you gift to my email subscribers! If you’re already a subscriber, you can refer to my latest email for the library password. Not a subcriber yet? You can sign up for free here!
TOOLS & MATERIALS TO MAKE MODERN MINIATURE CHAIR
I use my Cricut Maker to cut basswood, and here is my recommended tools and materials:
- Cricut Maker, Purple StrongGrip Mat, Knife blade
- 1/16″ basswood sheet
- Wood glue for assembling the chair and Elmer’s Craft Bond glue for the cushions
- Paints: I used FolkArt Coffee Bean for the 1:12 version with pink cushion, and Americana Raw Sienna for 1:16 version with white cushions
- Fine and/or extra-fine grit sandpaper: I usually use the 150 first to smooth out edges, then use the 220 for in between paint coats.
- Foam core
- Batting is optional for 1:16 scale, recommended for 1:12 scale for additional thickness. Choose batting that are low-loft (not so fluffy).
- Thin fabrics
Cutting List for Cricut with 1/16″ (1,5mm) basswood
- Chair sides: cut 4 pieces with the following grain orientation:
- 2 pieces along the grain
- 2 pieces across the grain
- Chair back: cut 1 or 2 pieces for double-layering, depending on your preference.
- Chair seat:
- cut 1 piece of the one labeled for single layer of 1/16″
- cut 2 pieces of the one labeled for 1/8″
Cutting List for Laser-Cutter with 1/8″ (3mm) plywood
- Chair sides: cut 2 pieces
- Chair back: cut 1 piece
- Chair seat: cut 1 piece of the one labeled for 1/8″
IMPORTING THE SVG FILES INTO CRICUT DESIGN SPACE
To import the SVG file into Cricut Design Space, head on to this post or watch this video on YouTube.
CRICUT CUTTING NOTES
When making chairs from 1/16″ basswood, I like to double layer the chair sides at perpendicular grain directions. I laid out the SVG elements this way as well: two pieces vertical, and two pieces horizontal.
After all the pieces are cut, I take one vertical plus one horizontal, and glue them together to make one chair side. And I do the same for the other chair side. I make sure to mirror the position so that the visible outside part show the same grain direction. For my chairs, I chose the vertical grain to be on the outside layer.
The reason to do this is to strengthen the basswood so it doesn’t bend and break easily.
ASSEMBLING THE MODERN MINIATURE CHAIR
Step 1: Stain (optional)
If you choose to stain your pieces, do it now before gluing. Glue prevents stain from being absorbed, so it would result in blotchy, uneven color.
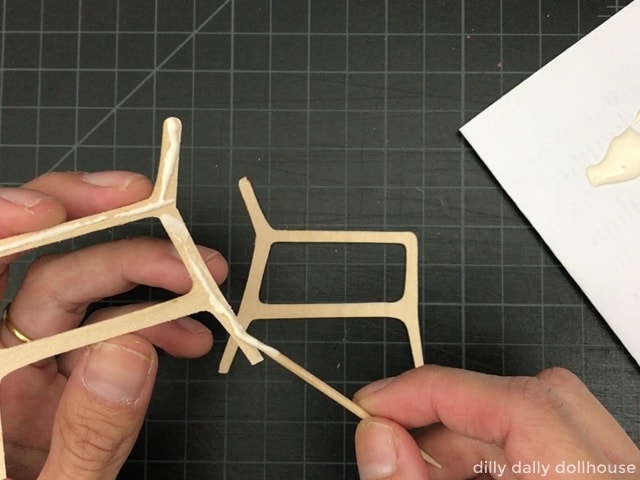
Step 2: Assemble the chair sides
Take one vertical plus one horizontal chair side pieces, and glue them together to make one chair side. Repeat for the other chair side. Make sure to have the same grain direction showing on the outside, for best result. Sand to blend the seam and soften the edges.
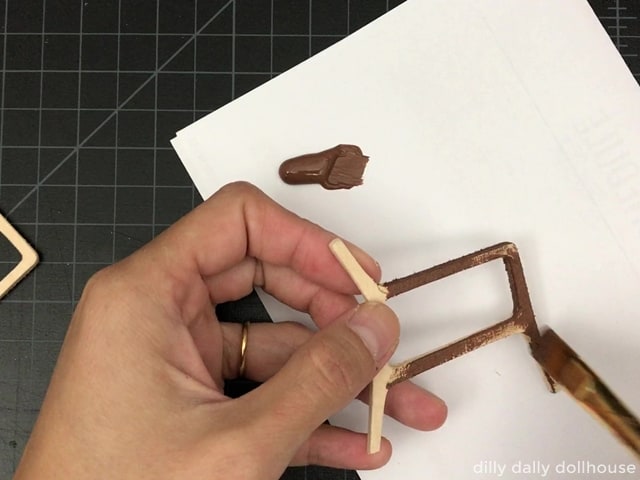
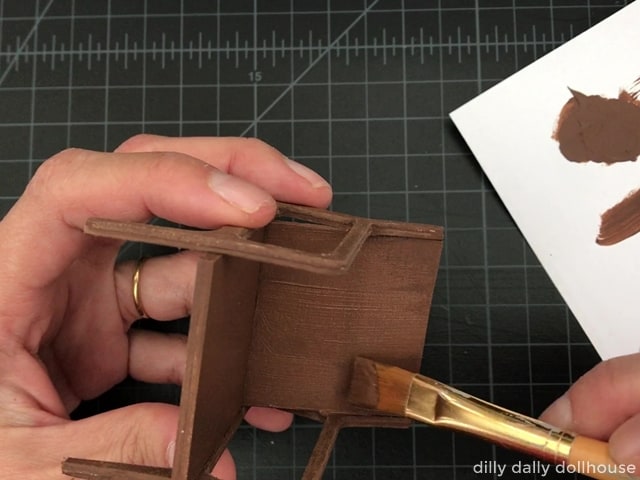
Step 3: Paint the chair pieces
If you choose to paint your pieces, do one coat at this step. Sand all surfaces gently.
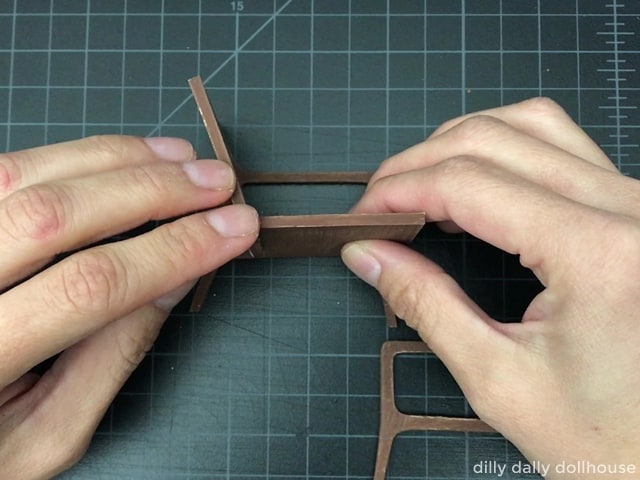
Step 4: Attach the chair back and seat
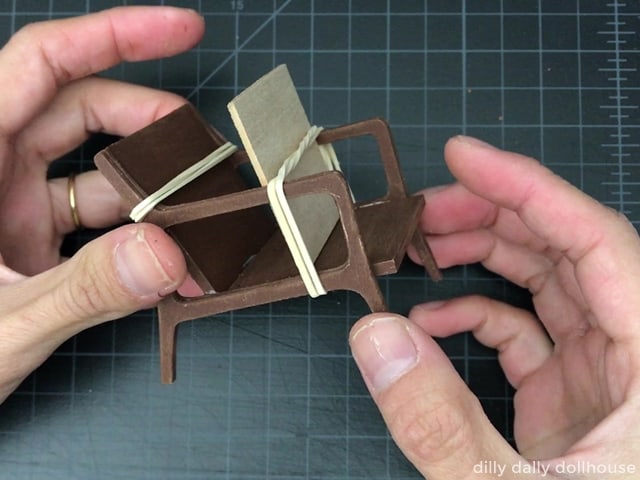
Sand the edges of the chair back and seat so they are straight. Attach the back to one chair side, then the seat. Then, attach the other chair side. Align carefully while the glue is setting. Then secure gently with rubber bands while the glue dries.
Step 5: Apply another coat of paint
You can also add a coat of varnish or sealant.
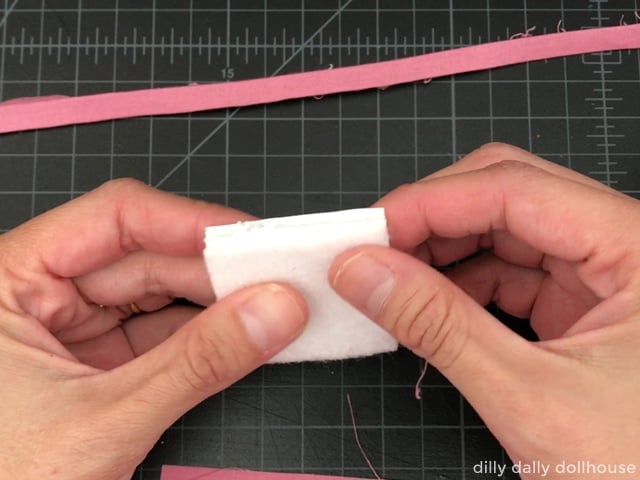
Step 6: Make the cushions
I have a more detailed tutorial for making box cushions, or you can follow the instructions below. You will want to make the seat cushion first, then the back cushion. The thickness of the seat cushion will determine how big your back cushion needs to be.
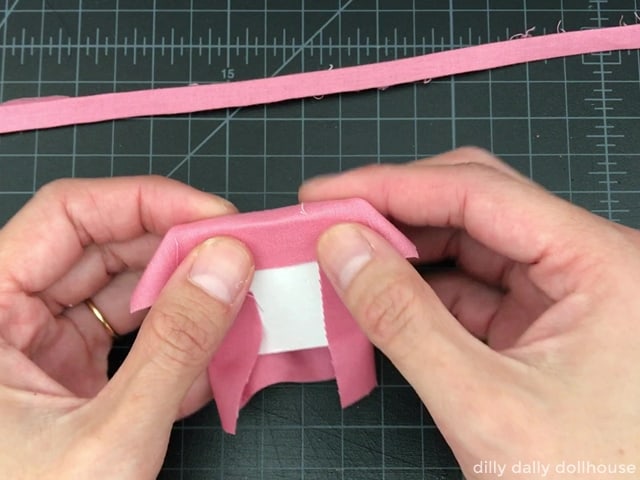
- Measure and cut out foam core slightly smaller than the chair seat. Top with batting (optional).
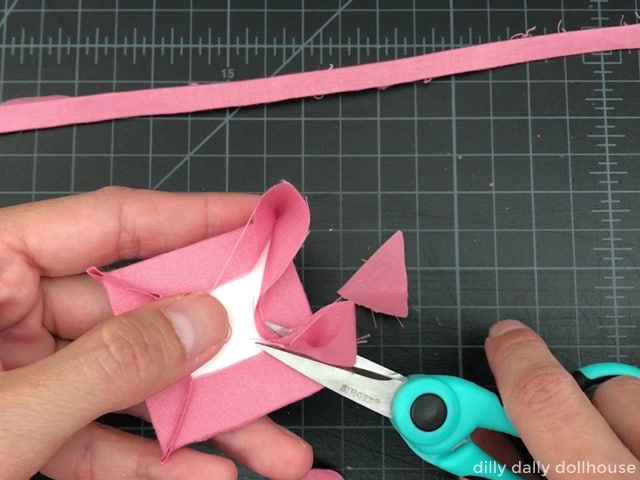
- Glue and wrap the foam core with fabric, and neaten the edges and corners. Snip off excess fabric underneath.
- Glue and wrap the edges of foam core with a strip of fabric. Snip off excess fabric and neaten the ends.
- Repeat steps 1-3 for the chair back cushion.

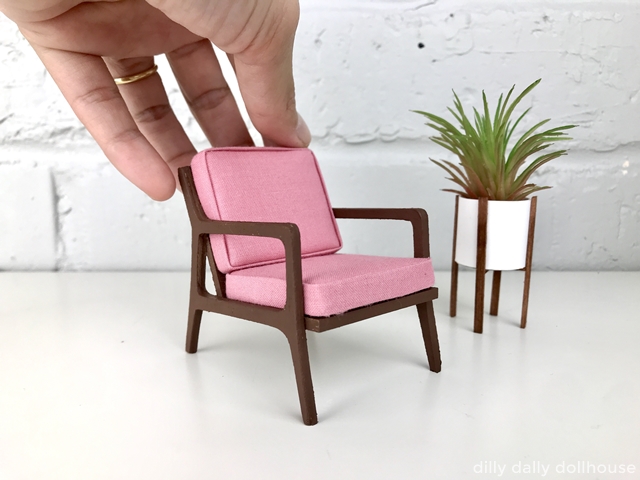
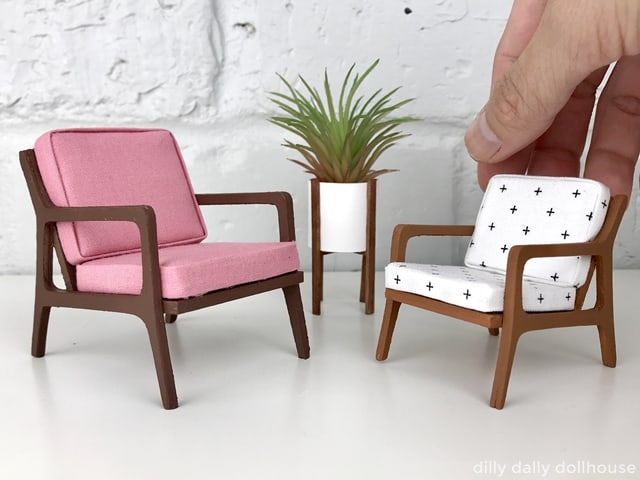
COMPLETE!
I made a 1:12 and a 1:16 version, here shown side by side.
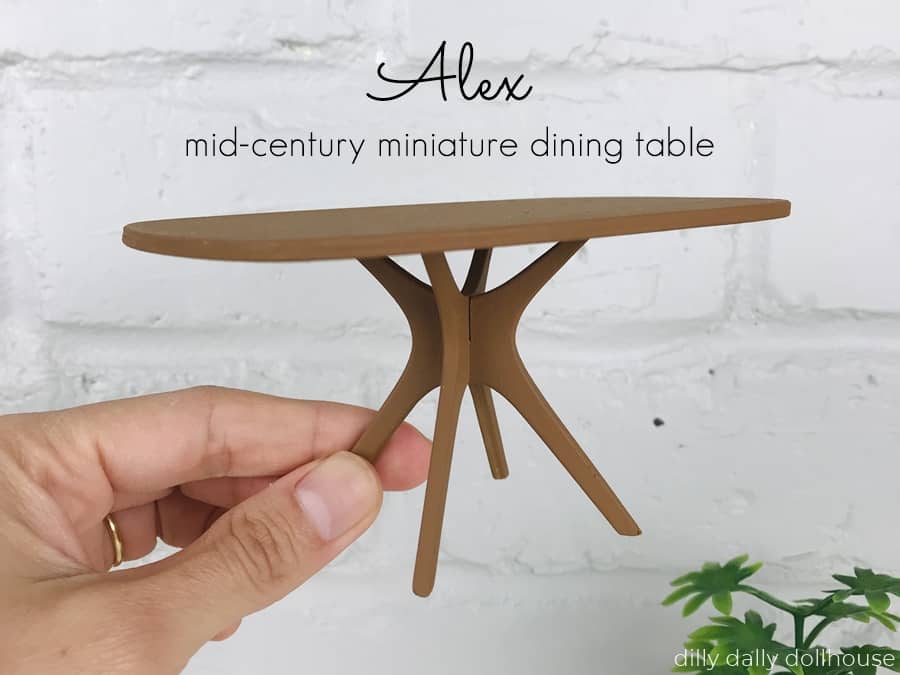
RELATED PROJECTS

Made your own? I’d love to know!
What motivates me the most is seeing you use my tutorials to make your own minis! There are many ways you can share your projects:
- comment below to let me know (or if you have any questions about it–for the benefit of others also!)
- link back to my site or this tutorial,
- tag me on Facebook or Instagram,
- share your version on my Facebook group!
Good afternoon from a stormy Holland!
During this Covid-quarantaine I have started trying to make a mini vignette.
After making all the misstakes I possible could, I have almost finished my first one and it was FUN! Although every time I look at it, I want to change something.
I am in awe of your design (and believe me: I have raided the internet!!). I dont own a cricut or lasercutter. I want to try by hand but I dont see a pdf. Am I overlooking it?
Hoping to hear from you and have a great day!
Nellisa
Hi Nellisa, thank you for such kind words! I have both free files in the library (the password is sent when you subscribe to my newsletter), and also premium ones on Etsy. All the SVG files also have the PDF version. Check it out and let me know what you think!