
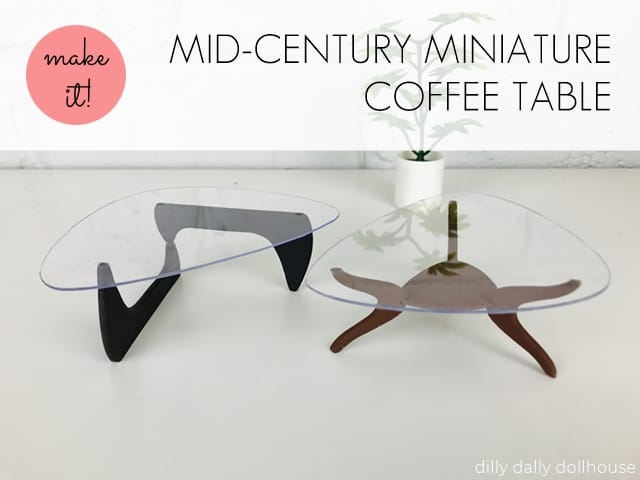
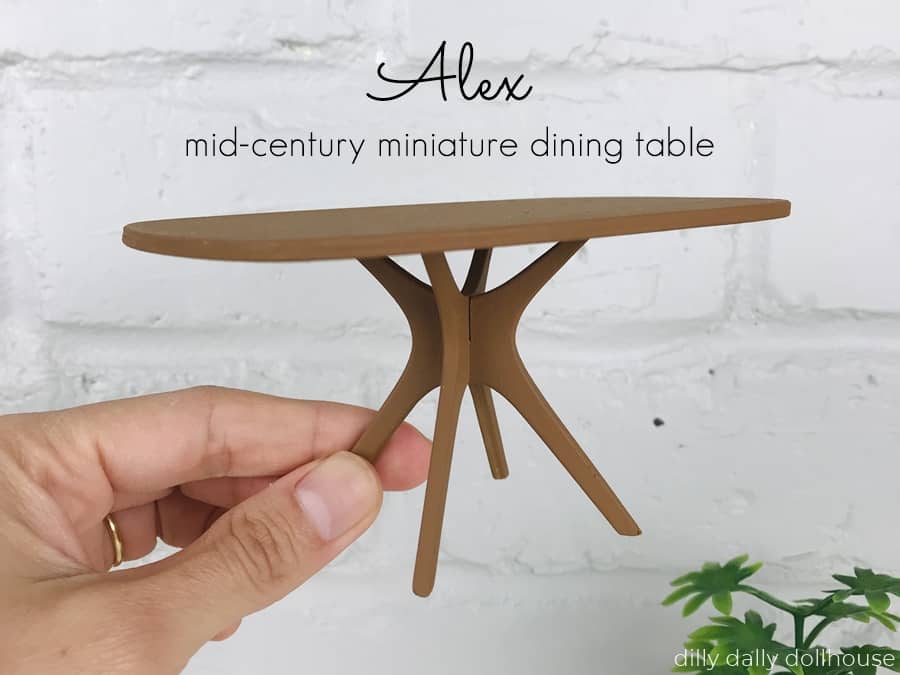
This mid-century miniature coffee table is a breeze to make! I recommend a Cricut Maker or a laser cutter to make this project even easier.
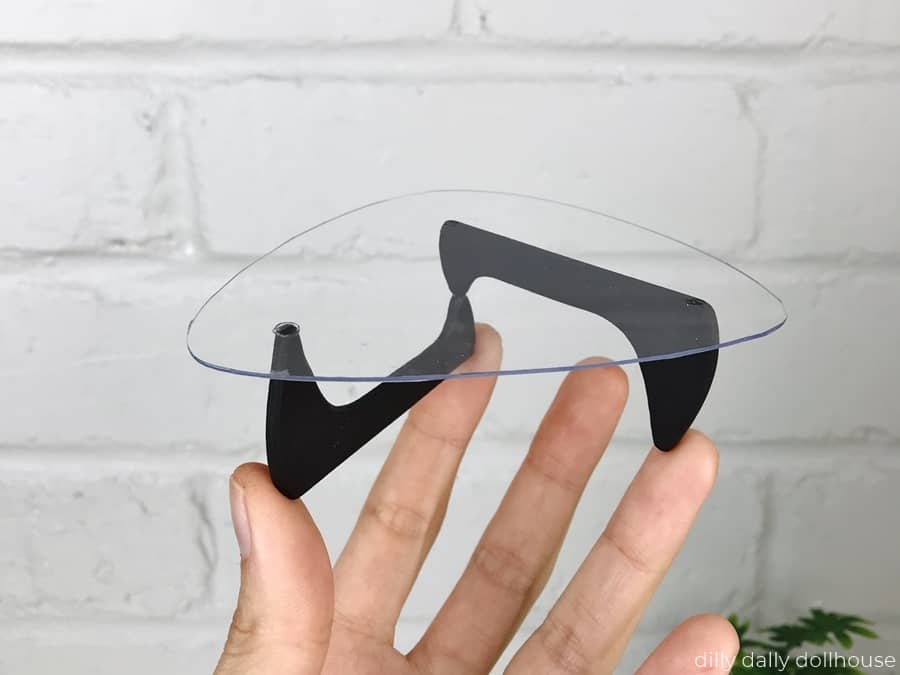
The triangular table top is organically shaped and slightly asymmetrical, so it’s very forgiving if you have to cut it by hand. The legs do require more precision in the cutting. They have to be exactly measured and cut to provide a flat, level top. I’ve worked this out in the SVG file, so you don’t have to waste your time tinkering with the measurements!
DESIGN NOTES FOR MID-CENTURY MINIATURE COFFEE TABLE
I personally use a Cricut Maker, but these designs are laser-friendly! You can use a laser-cutter and 1/8″ thick material. Just pay attention to the adjustments on the cutting list below or on the PDF line sheet.
There are two styles of legs:
- the classic Noguchi-inspired style
- a 3-legged style with a middle shelf (available as a bundle)
- I don’t recommend cutting this version by hand, unless you like the challenge!
The SVG files will be available on Etsy!
- SVG file for 1:12 scale MCM coffee table with classic legs
- SVG file for 1:12 scale MCM BUNDLE coffee tables (both style legs)
- SVG file for 1:16 scale MCM coffee table with classic legs
- SVG file for 1:16 scale MCM BUNDLE coffee tables (both style legs)
IMPORTING THE SVG FILES INTO CRICUT DESIGN SPACE
To import the SVG file into Cricut Design Space, head on to this post or watch this video on YouTube.
TOOLS & MATERIALS TO MAKE MCM COFFEE TABLE
Here are the tools and materials that I used for the project, and some alternates:
- Cricut Maker and…
- 1/16″ basswood sheet for the legs (see cutting list below)
- I recommend MidWest Products basswood sheets in 8″ wide if you can find them, or at least 6″ wide (on eBay)
- Alternatively, chipboard can be used
- Thin, semi-rigid plastic sheet for the table top. Some options:
- .030 polycarbonate sheet – I purchased this locally and used it for this project
- .020 clear plastic sheet – I’ve never tried this but it’s die-cut friendly
- clear plastic food containers
- Wood glue
- Strong, clear glue like E6000
- Sandpaper in various grits (I use mainly 150 and 220, sometimes 400).
- If you have a Dremel, use that too!
- Paint
CUTTING LIST FOR MCM COFFEE TABLE
For the Classic leg, cut the following:
- 1 piece of table top (use clear plastic or same material as the legs)
- 4 pieces of the leg
- Cut 2 along the grain, and 2 across the grain
- If using 1/8″ material, cut only 2 pieces of the legs
For the version with the middle shelf, cut the following:
- 1 piece of table top (use clear plastic or same material as the legs)
- 1 piece of middle shelf
- 6 pieces of leg that has the smaller notch
- Cut 3 along the grain, and 3 across the grain
- If using 1/8″ material, cut only 3 pieces of the leg that has the bigger notch
ASSEMBLING THE MCM COFFEE TABLE
You can watch the video tutorial here or on YouTube! Be sure to review the written steps below also.
Step 1: Cut all the pieces
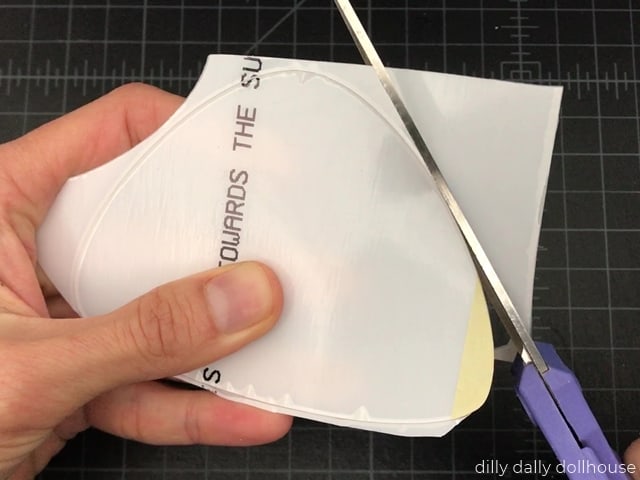
You can cut the table top out of clear plastic sheet, but it’s completely fine to use the same material as the legs!
I ran a sheet of .030 polycarbonate through my Cricut Maker using the 1/16″ basswood setting. It didn’t cut all the way through, so I just cut the rest using a pair of scissors.
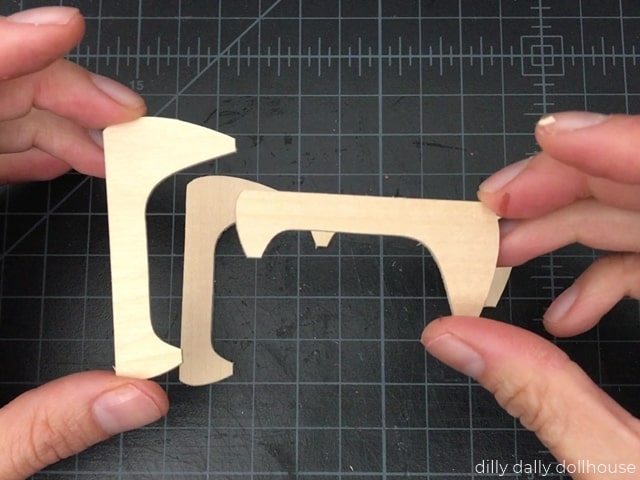
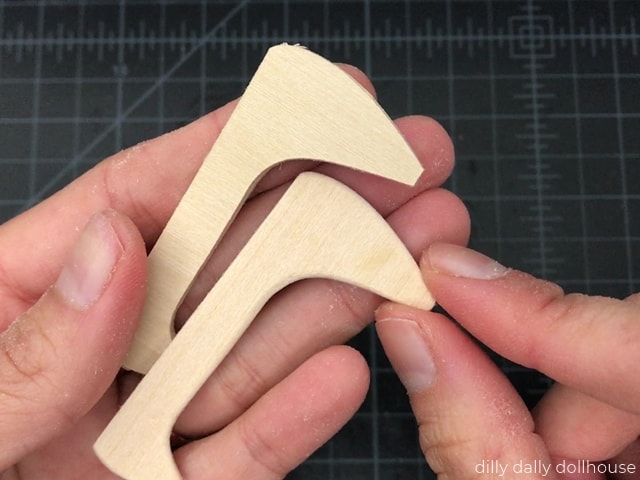
Step 2: Prepare the legs
I like to layer two pieces with differing grain direction, for extra strength. One piece across the grain, glued to another piece along the grain.
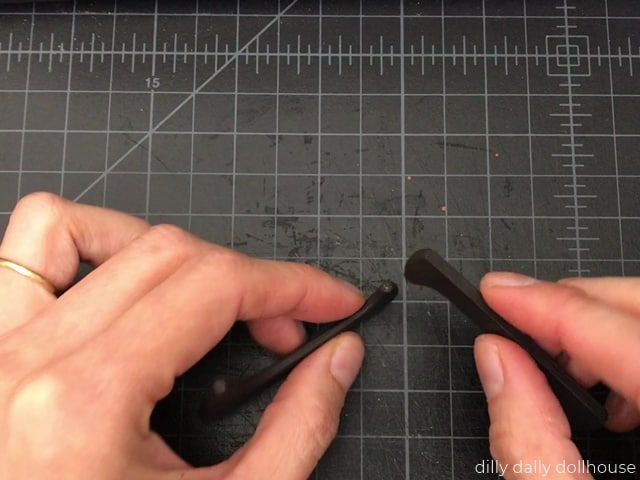
Once the glue is dry, I recommend taking the time to sand the edges until they are smooth. Use a Dremel if you need to, and refine with a 220-grit sandpaper sheet. See how much better the sanded piece looks, compared to the unsanded one?
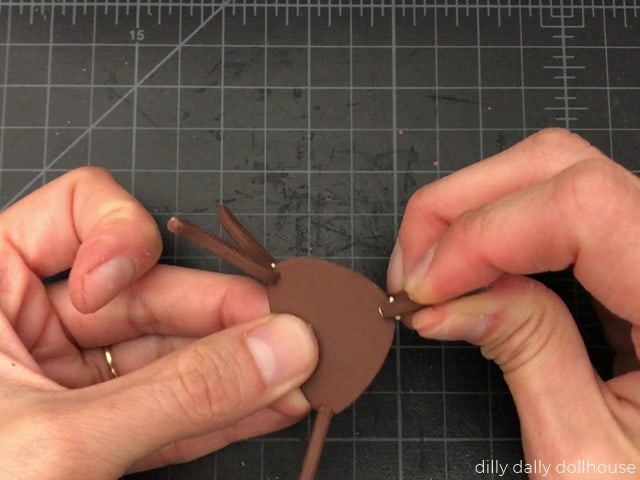
Paint then set aside to dry. Then glue the leg parts together.
For the classic interlocking style, simply glue the short ends together.
For the middle shelf version, glue the legs in each corner of the middle shelf.
Step 3: Attach the table top
Use clear glue to attach the plastic table top. I just dabbed a tiny bit on each of the 3 corners.
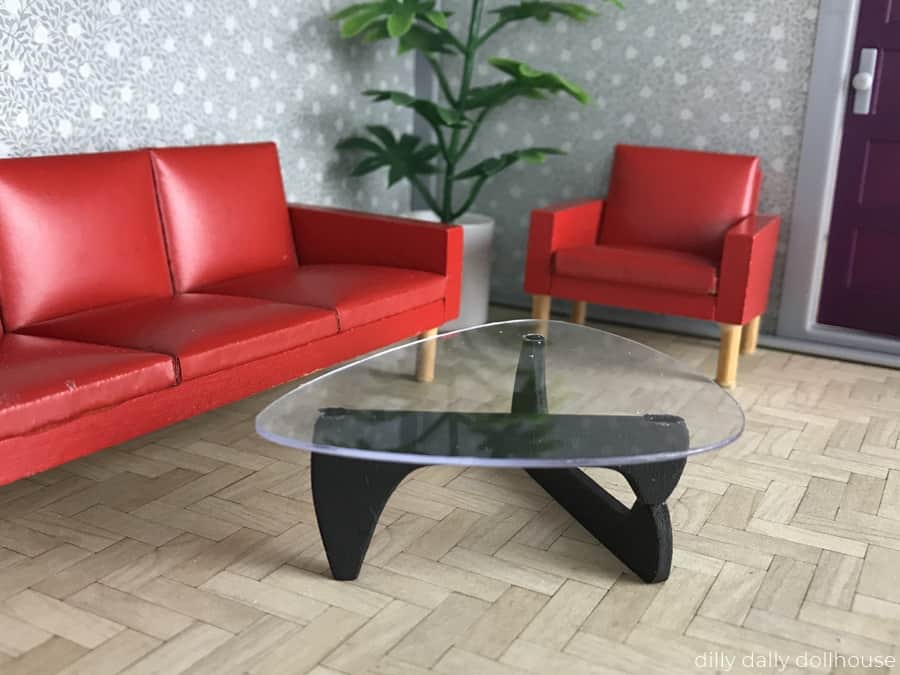
COMPLETE!
Here’s my completed mid-century miniature coffee table in the Lundby Room
RELATED PROJECTS
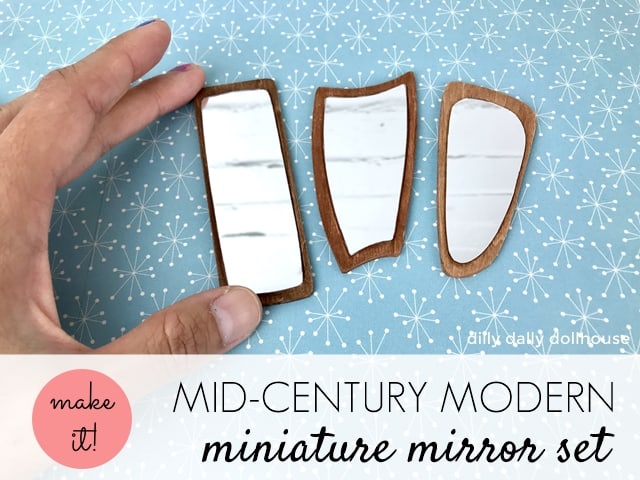
Mid-Century Modern Dollhouse Mirrors (Tutorial and SVG file)
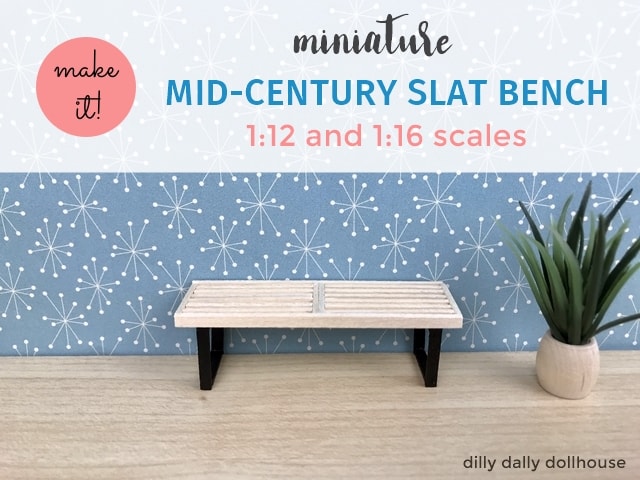
Miniature Slat Bench/Coffee Table ~ 1:16 and 1:12 scales (Tutorial)
Made your own? I’d love to know!
What motivates me the most is seeing you use my tutorials to make your own minis! There are many ways you can share your projects:
- comment below to let me know (or if you have any questions about it–for the benefit of others also!)
- link back to my site or this tutorial,
- tag me on Facebook or Instagram,
- share your version on my Facebook group!