
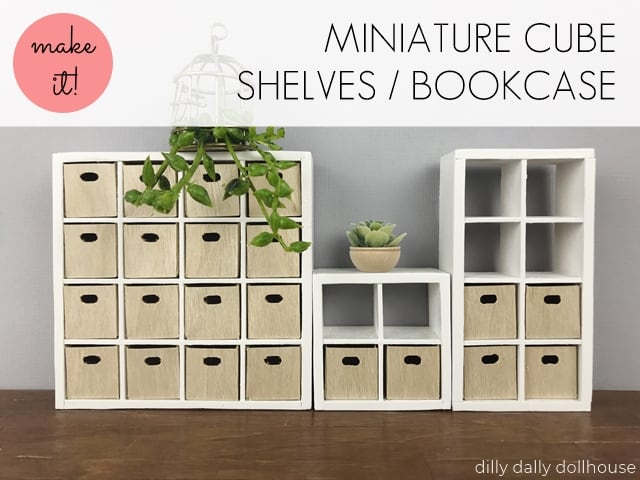
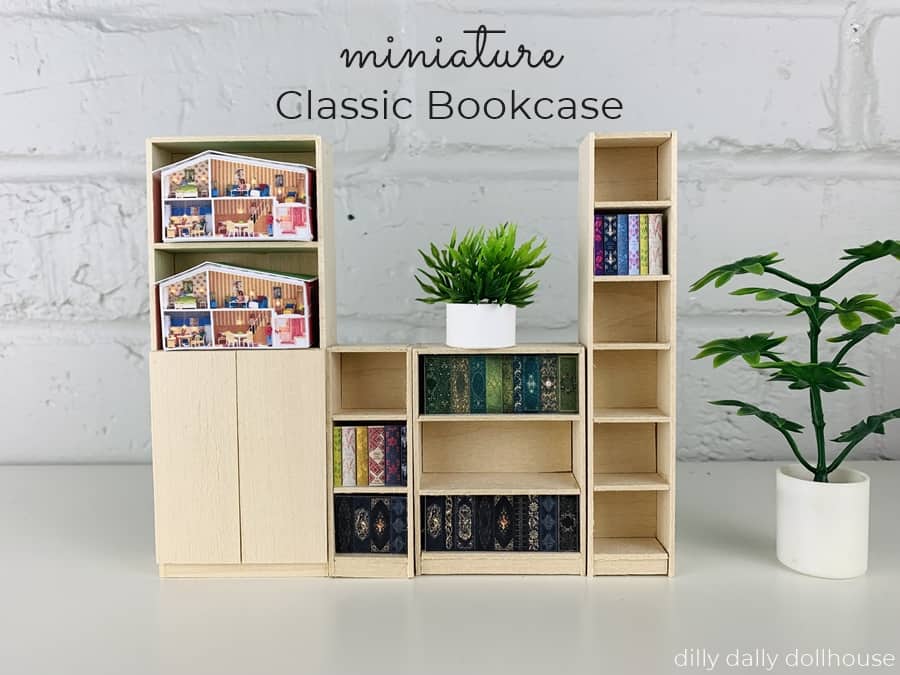
You know all those tiny miniature accessories scattered all around your dollhouse (and maybe your real house)? How about a functional mini storage solutions? Like this miniature cube bookcase/shelves with boxes!
Once cut, the bookcase is pretty simple to put together. The hardest part is probably measuring the notches (which I’ve done for you), and cutting them out (which your cutting machine can do for you).
Without further ado, let’s get started!
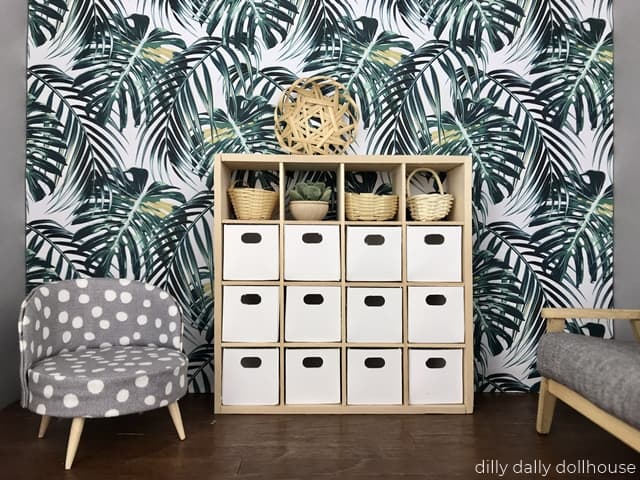 The cute chair on the left is this one.
DESIGN NOTES FOR MINIATURE CUBE BOOKCASE
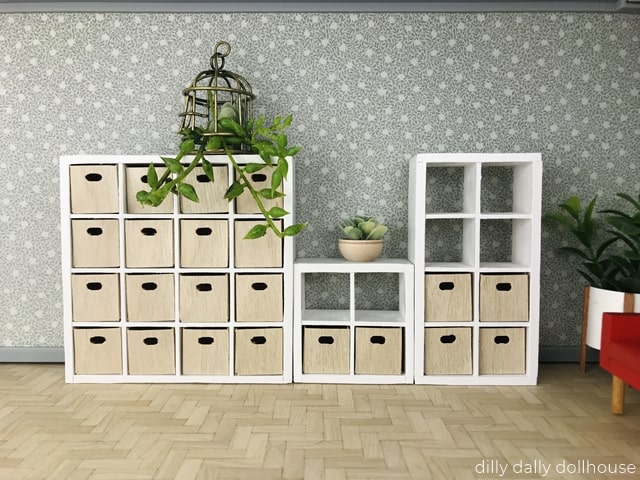
The cube shelves are available in 3 sizes and should be cut using 1/16″ thick material (such as basswood or chipboard).
- 16-cube (4×4)
- 8-cube (2×4 that can be placed horizontally or vertically)
- 4-cube (2×2)
The boxes can be cut on cardstock, and are available in 3 variations of holes:
- oblong,
- round, or
- no hole
Get the SVG files from my Etsy shop!
- SVG file for 1:12 scale of 16-cube 4×4 bookcase with boxes
- SVG file for 1:12 scale of BUNDLE (all 3 sizes) bookcases with boxes
- SVG file for 1:16 Lundby scale of 16-cube 4×4 bookcase with boxes
- SVG file for 1:16 Lundby scale of BUNDLE (all 3 sizes) bookcases with boxes
IMPORTING THE SVG FILES INTO CRICUT DESIGN SPACE
To import the SVG file into Cricut Design Space, head on to this post or watch this video on YouTube.
TOOLS & MATERIALS TO MAKE MINIATURE CUBE BOOKCASE
- Cricut Maker and…
- Purple StrongGrip Mat, Knife blade for cutting the frame
- Green StandardGrip Mat, Fine-point blade for cutting the boxes
- 1/16″ basswood sheet for the bookcase (see cutting list below)
- I recommend MidWest Products basswood sheets in 8″ wide if you can find them, or at least 6″ wide (on eBay)
- Alternatively, chipboard can be used
- Wood cardstock or plain cardstock for the boxes
- Wood glue
- Sandpaper in various grits (I use mainly 150 and 220, sometimes 400)
- Paint
- Optional: Iron-on wood veneer to cover the seams
Cutting list for Miniature Cube Bookcase
For the bookcase, cut the following pieces on 1/16″ material:
- 2 pieces of Outer Side
- 2 pieces of Inner Side
- 2 pieces of Outer Top/Bottom
- for the 4×4 and 2×2, these are the same size as the Inner Side
- 2 pieces of Inner Top/Bottom
- Dividers
- for the 4×4, cut 6 pieces
- for the 2×4, cut 1 long divider and 3 short divider
- for the 2×2, cut 2 pieces
Cut as many boxes as you want on cardstock. Be sure to review Step #4 below on setting it up in Cricut Design Space before cutting.
ASSEMBLING THE MINIATURE CUBE BOOKCASE
You can watch the video tutorial here or on YouTube! Be sure to review the written steps below also.
Step 1: Cut and label all pieces
Use a pencil, so the markings can be erased or covered easily with paint. Sand all cut edges so they’re even.
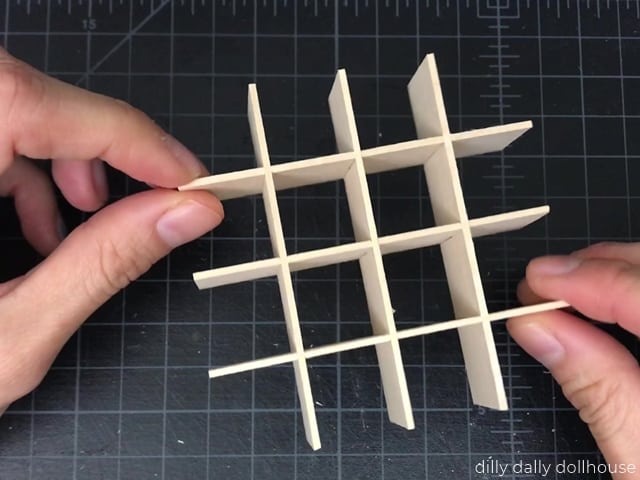
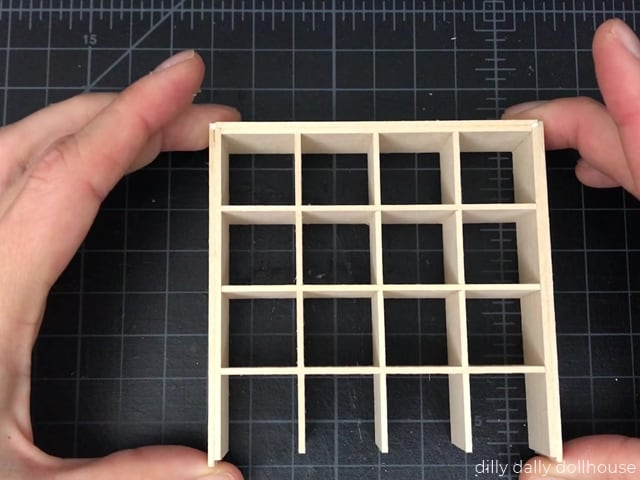
Step 2: Assemble the grid
Interlock the dividers to make the cube grids. Glue is optional.
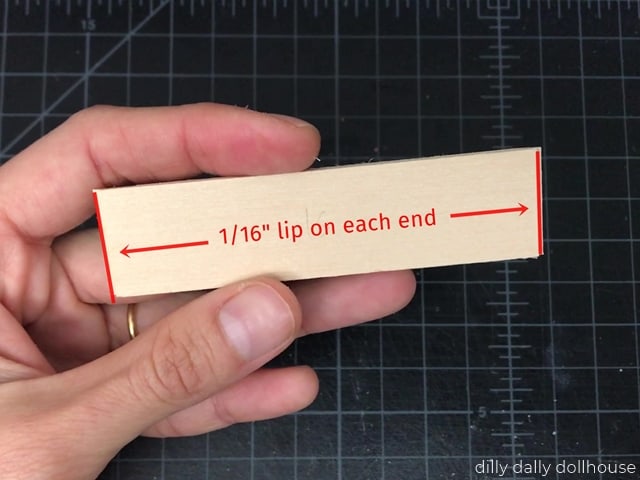
Step 3: Assemble the frame
Glue together the Inner Side and Outer Side pieces. They should be centered and have 1/16″ lip on each side. Make two of them.
Repeat the same for the Inner Top and Outer Top, and make two.
Then put 3 of the frame pieces together. The Side pieces should cover the ends of the Top/Bottom pieces. Insert the grid, then glue the last frame piece.
If you want, cover the front seam with strips of wood veneer or cardstock.
Then paint and sand in between coats.
Step 4: Cut the boxes
Make sure to do these two things in Design Space, before cutting:
- Attach the inner lines to the box shape, and
- Change the inner lines from CUT to SCORE.
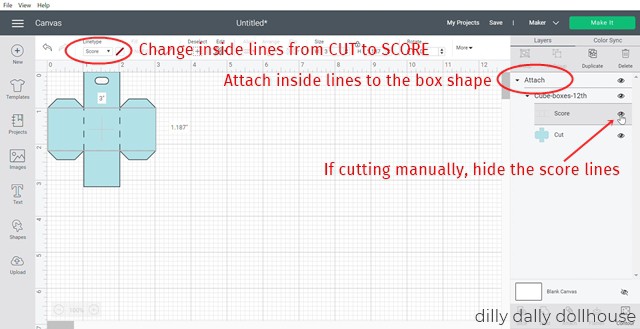
You can also hide the SCORE lines, if you need to score the boxes manually. So you can still make them even if you don’t have a scoring blade. I skipped the score lines because I like to run an extra cutting pass to make sure the cardstock is cut all the way through.
Make the necessary duplicates, then send to your Cricut to cut!
After the boxes are cut and scored, fold at the score lines, apply glue at the tabs, and secure the tabs to the front and back flaps.
COMPLETE!
Here is my 1:16 set in a Lundby Room 😍
RELATED PROJECTS
Made your own? I’d love to know!
What motivates me the most is seeing you use my tutorials to make your own minis! There are many ways you can share your projects:
- comment below to let me know (or if you have any questions about it–for the benefit of others also!)
- link back to my site or this tutorial,
- tag me on Facebook or Instagram,
- share your version on my Facebook group!
The svg that I downloaded for the boxes is different than the video. Is there a new video to go along with the new shape boxes? I watched the YouTube video but it does not match the shape and how to fold. It looks like the new one does not have a bottom. Any help is greatly appreciated. Thanks!
Hi Beth, I’m guessing you downloaded the freebie version of the cube boxes, that’s made out of basswood sheets… there is no video for that, unfortunately. But it’s fairly easy, just gluing all 5 sides. This video is for the cardstock version that’s included with purchase of the cube bookcase file (available on my Etsy shop)
Thanks Rita!
Unfortunately I don’t (yet) have a Cricut. Are the patterns printable so they can be cut out manually?
Hi Kim, yes, there is a PDF pattern sheet (with measurements) that you can print to use as a template. 🙂