
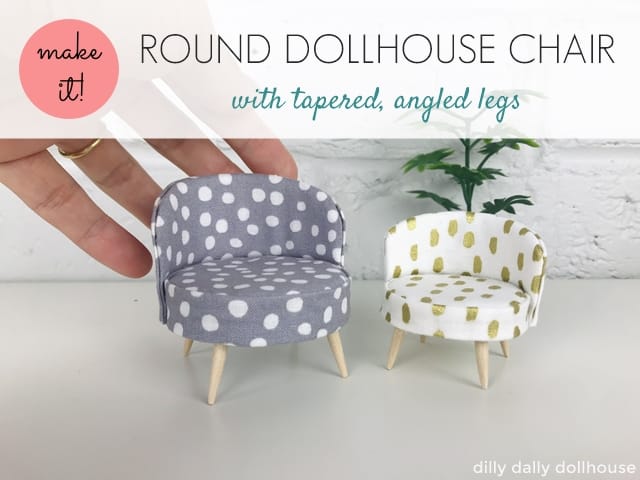
I squeed as soon as it was making this round dollhouse chair. I mean, is it not the cutest miniature ever? Okay, maybe not, but it’s definitely the most adorable thing I’ve made so far (which actually is not very far – LOL).
What’s even great is that it’s a twofer: Omit the back and voila… you have an ottoman!
The chair has many components but it’s pretty easy to make. If you have a Cricut Maker, you can cut all the pieces with it. Once the all the materials are cut and prepared, you’ll find the assembly goes pretty fast.
DESIGN NOTES FOR ROUND DOLLHOUSE CHAIR
Some features of the mini round chair are:
- Straight or angled legs: You can make this chair with straight legs or angled legs if you use my SVG/cut files. I don’t have any miter saw/shears for cutting at 10-15 degree angle, so the angling is built into the seat bases instead.
- Tapered legs: You can totally skip this, but I think tapered legs will make the chair look better. I’ll show you a couple of ways to taper the legs below.
- Less fabric puckering: See my tips below for minimizing the fabric wrinkles and puckers, especially on the seat back. If you still have more wrinkling than you like, you can always use pillows to hide them!
- Fabric choices: I recommend using random-patterned fabrics for this project, as it hides the wrinkles better than solid fabrics, and the pattern matching is much less difficult than geometric, orderly patterns.
SVG files are available in my Etsy shop!
- SVG file for round dollhouse chair in 1:12 scale
- SVG file for round dollhouse chair in 1:16 Lundby scale
- Each scale set includes a pattern line sheet with measurements and cutting quantities.
IMPORTING THE SVG FILES INTO CRICUT DESIGN SPACE
To import the SVG file into Cricut Design Space, head on to this post or watch this video on YouTube.
TOOLS & MATERIALS TO MAKE ROUND DOLLHOUSE CHAIR
There are 5 main materials for making the miniature round chair:
- Chipboard (approximately 1/16″ or 1.5mm thick) for the seat bases. You can replace 3 pieces with standard 3/16″ foam core, but I use all chipboard so my Cricut Maker can do the cutting (it’s gotta earn its keep!).
- Batting for cushioning. You can also use fleece or felt fabric, as an alternative. It’s for getting a padded look to the chair.
- Cardstock for the seat back. I use a medium-weight one from my stash.
- Fabric of your choice. Lightweight, random-patterned ones are recommended.
- Round dowels for the legs. I used a 1/8″ round dowel, which is actually slightly thicker than 1/8″. (My files are based on this leg size.)
And here are the tools and other materials that I used:
- Cricut Maker with:
- Purple StrongGrip mat and Knife blade to cut the chipboard.
- Pink FabricGrip mat and Rotary blade (link TBD) to cut the fabric (or, cut manually with fabric scissors or a rotary cutter).
- Green StandardGrip mat and Fine-point blade to cut the cardstock (or, print the seat back patterns on cardstock and cut manually).
- Wood glue
- Apply sparingly with a toothpick and wipe off excess glue. I even use this glue for the fabrics on this project, but be careful that it doesn’t seep through.
- Iron and small fabric scissors for preparing and snipping the fabric.
- A mini rotary tool such as Dremel for tapering the legs, and fine-grit sandpaper (I used 220) to smooth it out.
- If you don’t have a rotary tool, you can use a craft knife with a chisel tip to whittle the dowel.
- Miter saw or miter shears for cutting the legs.
ASSEMBLING THE ROUND DOLLHOUSE CHAIR
There’s a lot going on here that I suggest you watch the video first. This will give you a better sense of the whole process. Also read the steps below as they have more details that the video doesn’t.
Step 1: Cut all materials
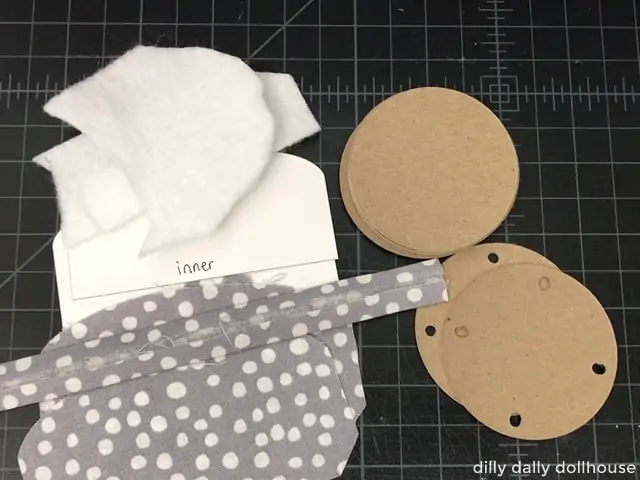
You should have the following pieces. For the fabric pieces, pay attention to the pattern placements.
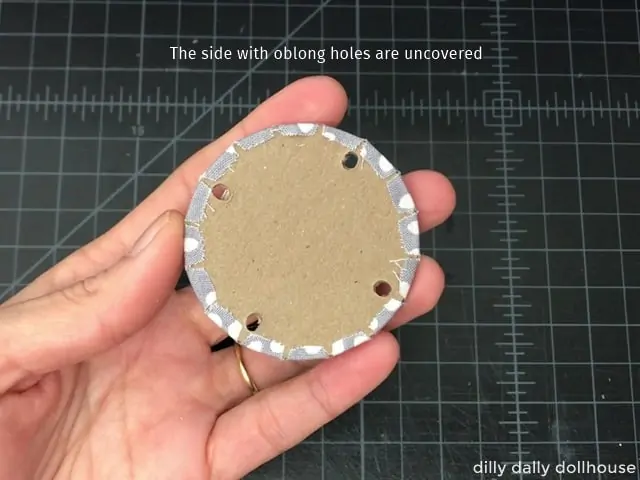
- 1 piece of chipboard Seat Base 1 with circle holes
- 1 piece of chipboard Seat Base 2 with oblong holes
- 5 pieces of chipboard Seat Base 3 without holes (solid). For 1:16 scale, you’ll need 3 pieces.
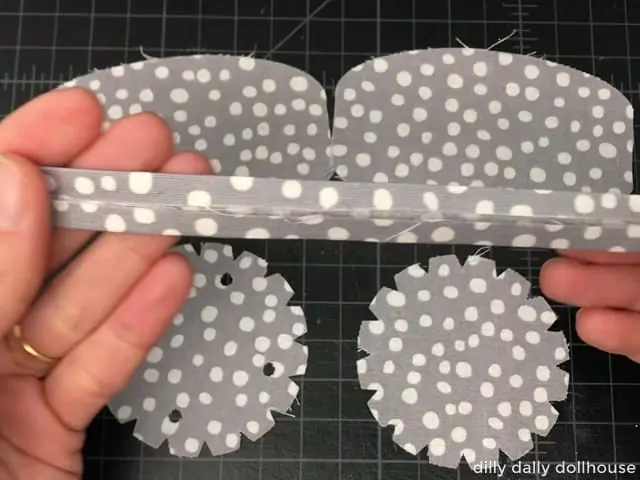
- 1 piece of fabric for Cushion strip
- 1 piece of fabric for Seat Top
- 1 piece of fabric for Seat Bottom with holes
- 2 pieces of fabric for Back
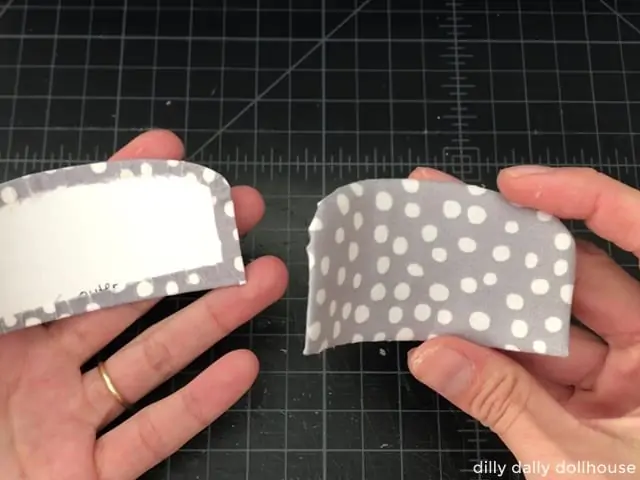
- 1 piece of cardstock for Inner Back
- 1 piece of cardstock for Outer Back (the wider of the two)
Step 2: Prepare the fabrics
The fabric patterns include a 1/4″ (0.25″) seam allowance.
Fold the long strip so the long edges meet in the middle, and iron it neatly. Maybe even overlap the edges slightly, so the strip width is not wider than the cushion thickness (which is 9/16″ for 1:12 scale or 3/8″ for 1:16 scale). After ironing, you may want to put the strip under a heavy, flat object, so the folds stay crisp. The college textbook from 25 years ago that you’re unable to let go is perfect for this.
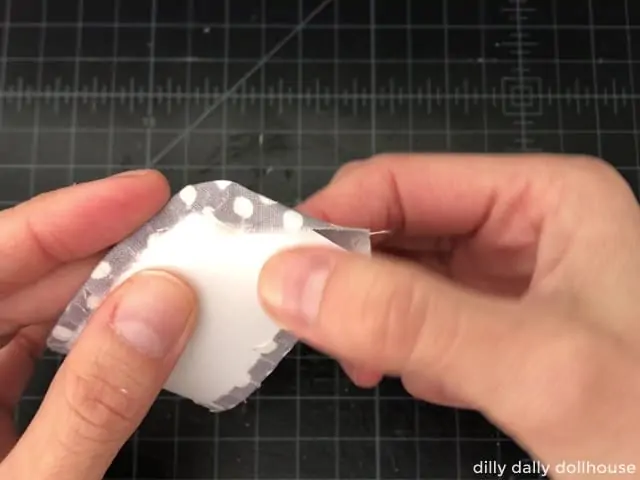
Make short snips on the Back fabrics along the top curve, the straight bottom, and the corners. Be sure to snip shorter than the 1/4″ seam allowance. You can trace the Outer Back cardstock on the fabric as a guide, or just gauge it like I did.
The Seat Top and Seat Bottom fabrics need notches all around. They’re done for you if you use my SVG file and Cricut Maker. If you cut manually, be sure to add the notches as well, at less than the 1/4″ seam allowance.
Step 3: Prepare the Seat Base
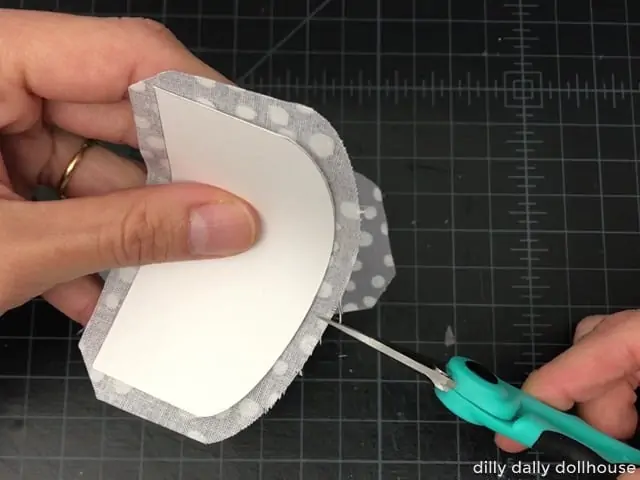
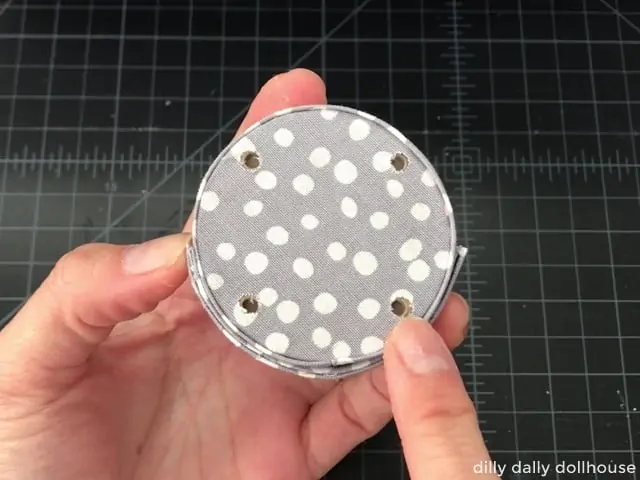
Attach the two seat bases with holes together, and make sure the holes are aligned perfectly. You’ll want the leg dowels to go through all the holes. Then wrap it up with the fabric (the fabric should be placed on the side with the circle/smaller holes). The notches on the fabric help to eliminate any bulk.
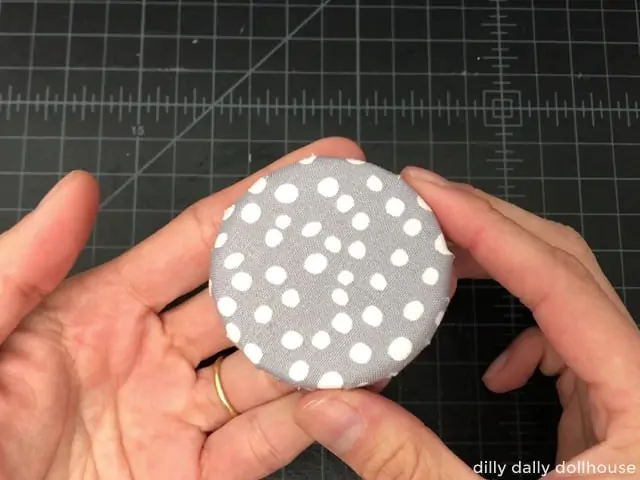
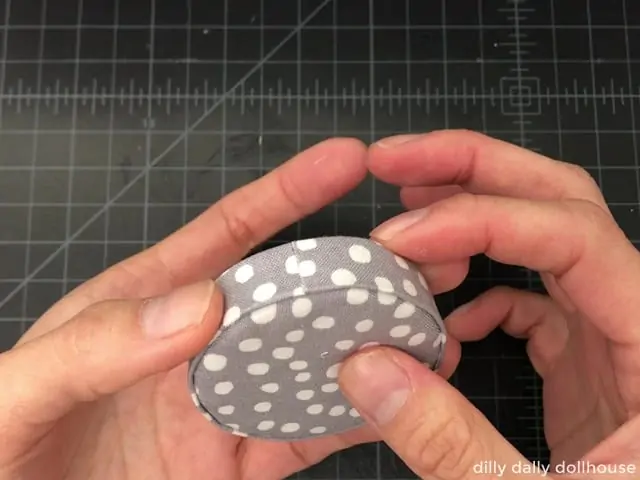
Attach all pieces of the solid seat bases, top it off with batting, and wrap it up with fabric.
Combine the bottom and top seat bases…
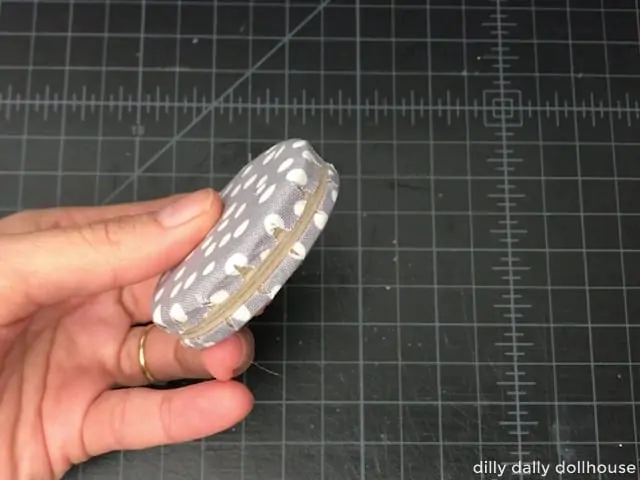
… then wrap the side with the ironed fabric strip. Trim the ends of the strip to avoid any overlap.
Step 4: Prepare the Back
On the Inner Back cardstock, make a line above the long straight edge to indicate the cushion thickness, which is 9/16″ for 1:12 scale or 3/8″ for 1:16 scale. Work the cardstock gently to curve it inward, and glue on batting just above the line.

Then wrap it up with fabric while keeping the cardstock curved. The fabric should be placed in front (concave part) of the batting. The snips that you made helps to minimize wrinkles. Don’t rush this part, and check the front occasionally to make sure that the fabric doesn’t pucker. Trim off any excess fabric.
Repeat the same process for the Outer Back, except you won’t need any batting here. The fabric for the outer back should be placed on the back (convex part) of the cardstock.
When done, glue together then Inner and Outer Back pieces with the fabrics facing out.
Step 5: Attach the Seat and the Back
Glue the lower part of the back to the seat. Position the seam of the cushion strip so that it’s hidden. Using the leg holes as a guide, make sure the back is centered.
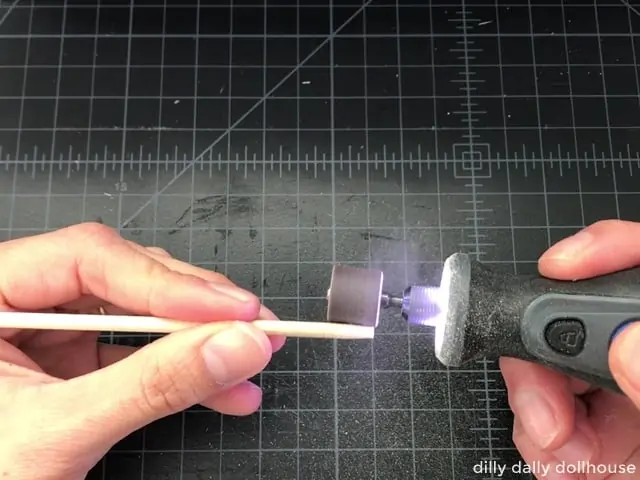
Step 6: Make the tapered Legs
Leave the round dowel uncut so you have something to hold on to, while shaping it.
Mark the start of the taper and the cut line with a pencil. The start of the taper is 1/2″ for both scales. The cut line is 7/8″ for 1:12 scale or 3/4″ for 1:16 scale.
Use a Dremel with a sanding bit to taper the dowel, up to the 1/2″ mark. Alternatively, you can use a craft knife with a chisel-tip blade to whittle the dowel. Sand to smooth, then cut at the cut line. Repeat to make 4 legs, and make sure they’re all the same length.
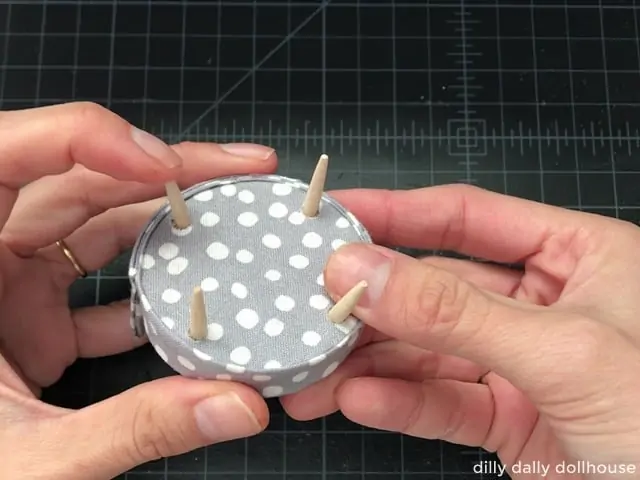
Then glue and insert the legs into the holes at the bottom of the chair, and push them out gently to angle.
COMPLETE!
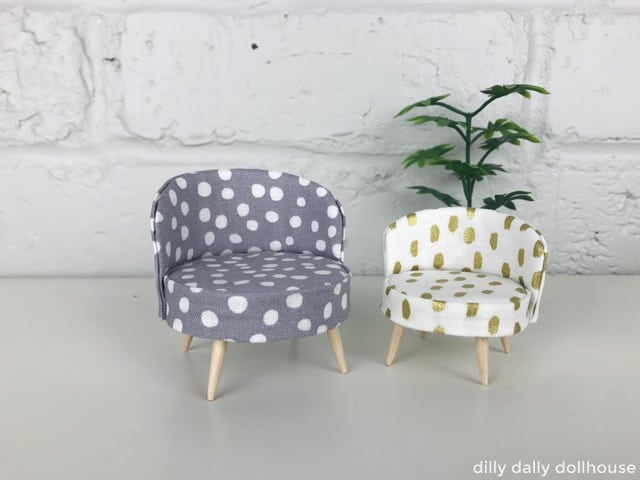
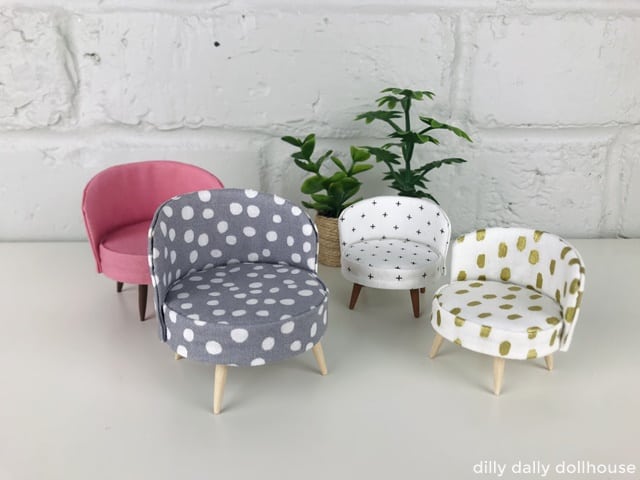
I love this round chair so much that I made a few in both 1:12 and 1:16 scales 😍. You can see a bit of puckering on the pink one (that’s why it sits in the back – hahaha), but we can always plop some pillows on it, right?
RELATED POSTS
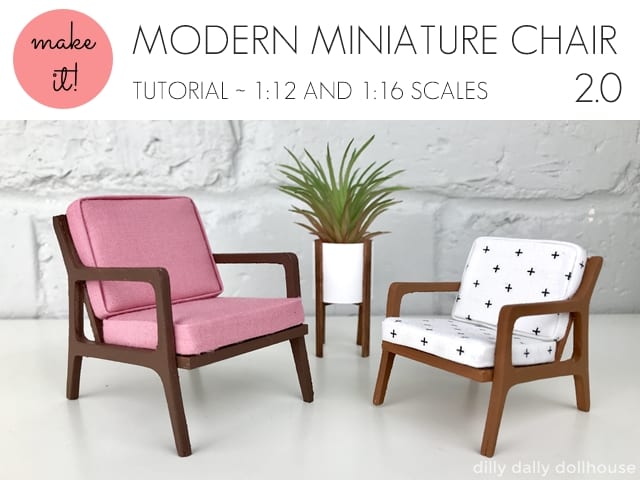
Modern Miniature Chair 2.0 – New & Improved! (Tutorial + SVG file)
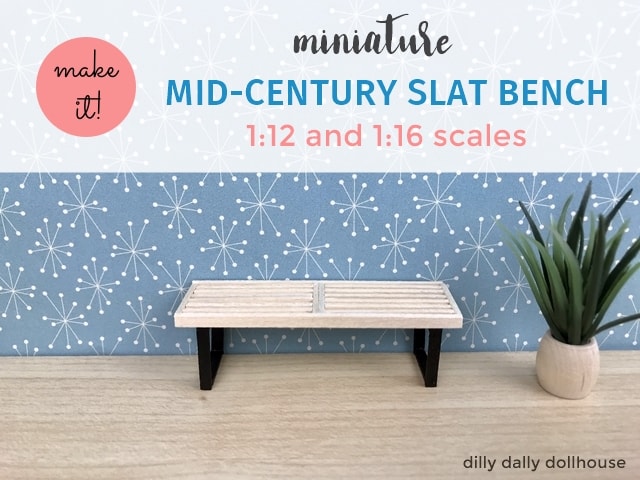
Miniature Slat Bench/Coffee Table ~ 1:16 and 1:12 scales (Tutorial)

Made your own? I’d love to know!
What motivates me the most is seeing you use my tutorials to make your own minis! There are many ways you can share your projects:
- comment below to let me know (or if you have any questions about it–for the benefit of others also!)
- link back to my site or this tutorial,
- tag me on Facebook or Instagram,
- share your version on my Facebook group!
your chairs catched my eye and I am happy I found your website! your work is exquisite and your tutorials are so clear! thank you for sharing <3 for sure I am going to give it a try soon!
Thank you so much for your kind words 🤗💞
I love your designs and originally subscribed so I could cut them on my Maker (which I’ve done). However, I just got my laser cutter hooked up today and I’m going to see about cutting your SVGs with my laser. Wish me luck!
Thanks Marilyn, good luck and have fun with the laser cutter!