

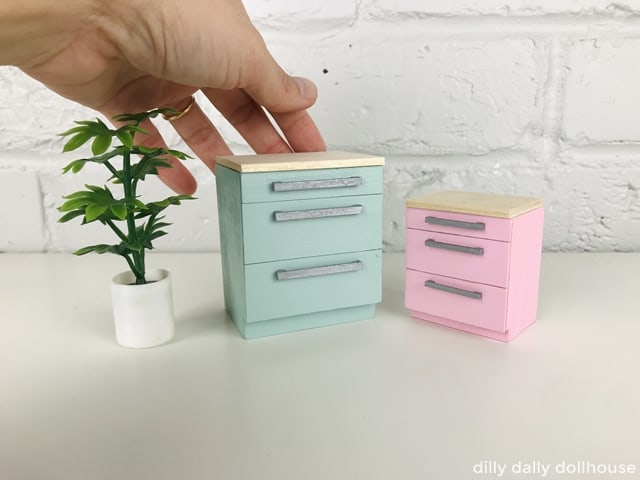
Did you know that know that a dollhouse kitchen cabinet is actually very easy to make? I dreaded making one so much, that I ended up making all other kitchen pieces first. How silly was that?
You have the options to use faux drawers or faux doors for the fronts!
DESIGN NOTES FOR DOLLHOUSE KITCHEN CABINET
This kitchen cabinet is available in 3 widths:
- Standard (equals to 30″ in real life) – this is the one pictured
- Compact (equals to 24″ in real life)
- Wide (equals to 36″ in real life)
The measurements are designed to work with 1/16″ material, except for the countertop which is 1/8″ thick. I simply double-layered 1/16″ basswood for the countertop.
The SVG files are available on my Etsy shop, and you get all 3 widths! And, both faux drawers and faux door fronts are included!
- SVG file for dollhouse kitchen sink cabinet in 1:12 scale
- SVG file for dollhouse kitchen sink cabinet in 1:16 Lundby scale
IMPORTING THE SVG FILES INTO CRICUT DESIGN SPACE
To import the SVG file into Cricut Design Space, head on to this post or watch this video on YouTube.
TOOLS & MATERIALS TO MAKE DOLLHOUSE KITCHEN CABINET
I use my Cricut Maker to cut all the pieces, and here is my recommended tools and materials:
- Cricut Maker, Purple StrongGrip Mat, Knife blade
- 1/16″ basswood sheet (see cutting list below):
- Wood glue
- Sandpaper in various grits (I use mainly 150 and 220, sometimes 400)
- Gloss paints
- Thin basswood sticks for handles
Cutting List for Dollhouse Kitchen Cabinet
- 2 pieces of Side
- 1 piece of Back
- 1 pieces of Back2
- 1 piece of Toekick
- 1 piece of Bottom Shelf
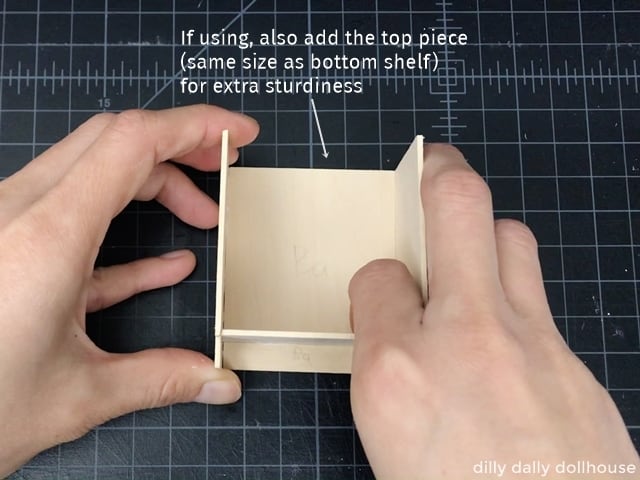
- Optional: Cut 1 more piece as a Top to add sturdiness
- 1 piece of Front
- 2 pieces of Countertop
- 1 piece of Top Drawer
- Choose either Drawers or Doors for below the top drawer:
- 2 pieces of Lower Drawer, OR
- 2 pieces of Door
ASSEMBLING THE DOLLHOUSE KITCHEN CABINET
I made a video overview of the assembly, which you can watch here or on YouTube. I recommend you watch it to get a feel of the whole process! The assembly notes below have some more details, so I think it’s helpful to read them also.
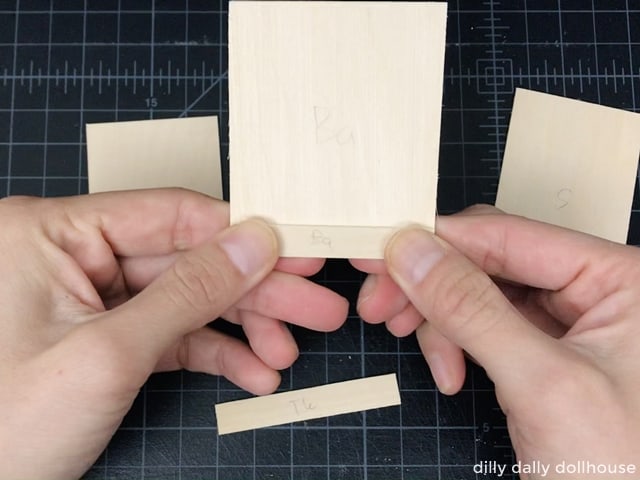
Step 1: Cut and label all pieces
Cut all the necessary pieces (refer to the cutting list above). Label each piece using a pencil, so the markings can be erased or covered easily with paint. Sand all edges so they’re smooth and even.
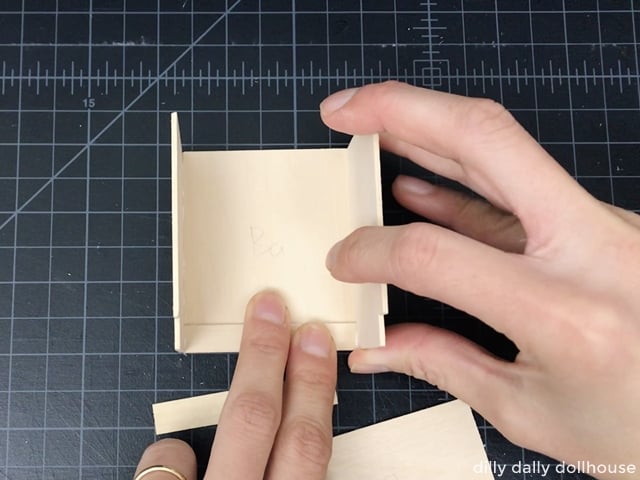
Step 2: Put together the pieces
Glue the Back 2 piece to the lower part of Back 1 piece.
Then glue the sides to the back pieces.
Insert the bottom shelf. If using, also add the optional top shelf.
Attach the toekick.
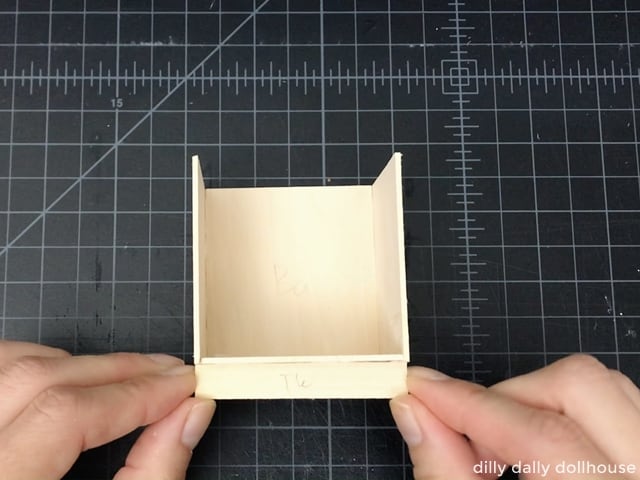
And glue on the front piece.
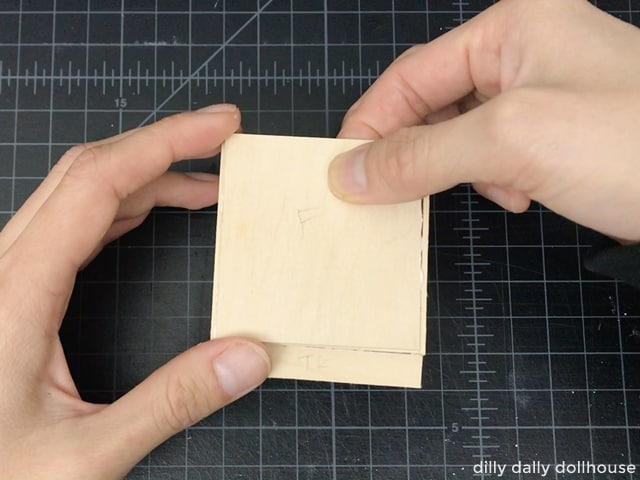
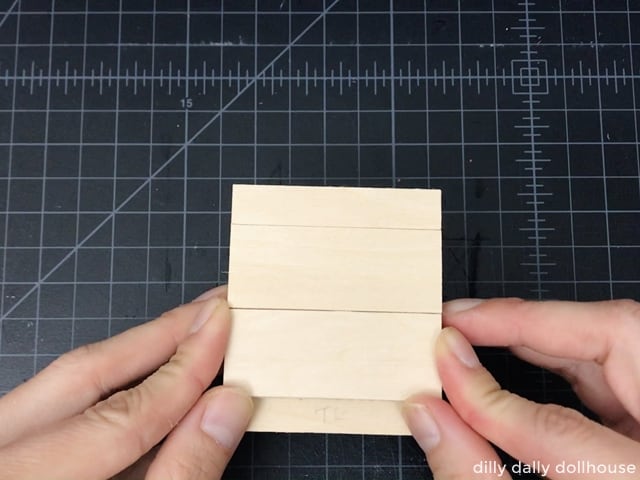
Step 3: Attach the Drawer or Door fronts
Glue on the Top Drawer piece on the upper front, and two Lower Drawer or two Door pieces below it. Then it’s ready to paint!
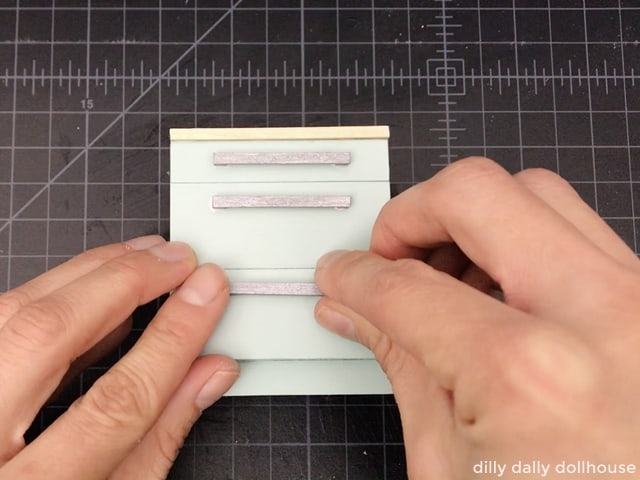
Step 4: Prepare the countertop
Layer together the two pieces of Countertop, and place them in place after the painted cabinet is dry. Then, add handles, and voila – finished!
COMPLETE!
If you need to make other dollhouse kitchen pieces, check out these tutorials:
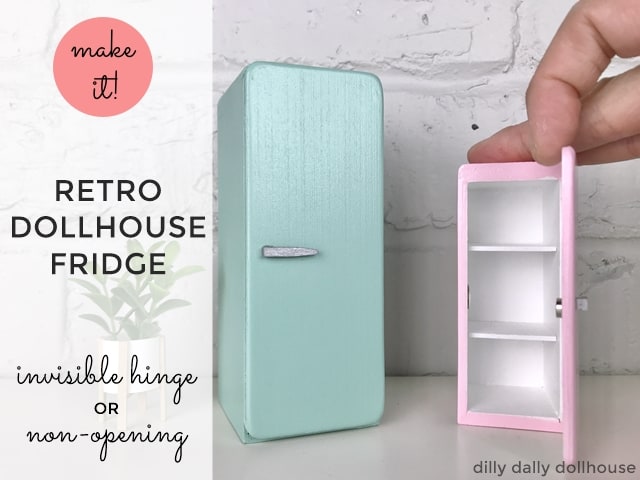
- Retro dollhouse fridge with working door option
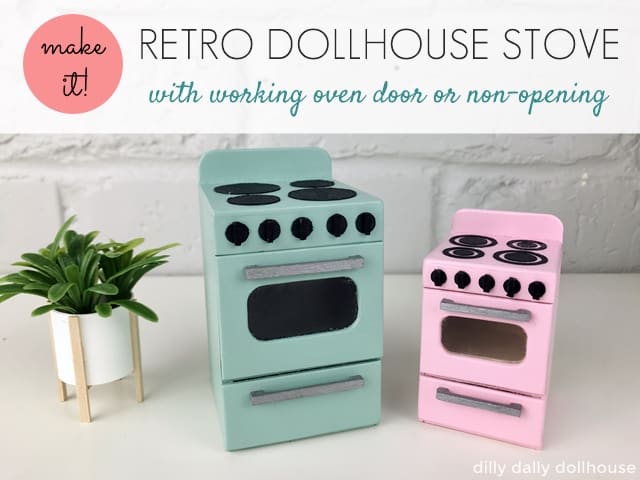
- Retro dollhouse stove with working door option
- Dollhouse kitchen sink cabinet with farmhouse-style apron sink
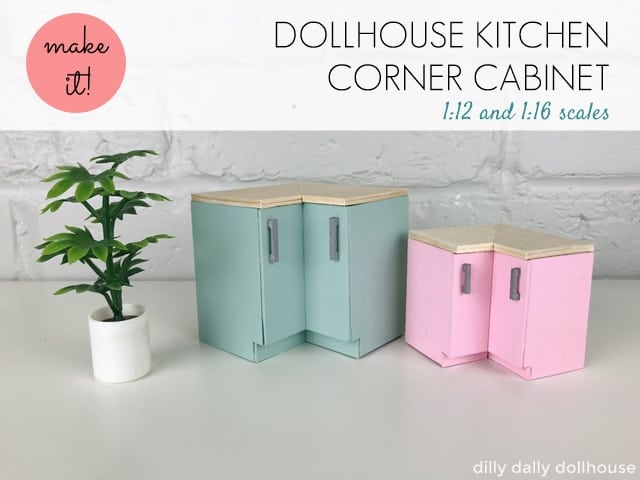
- Dollhouse kitchen corner cabinet
RELATED PROJECTS
Made your own? I’d love to know!
What motivates me the most is seeing you use my tutorials to make your own minis! There are many ways you can share your projects:
- comment below to let me know (or if you have any questions about it–for the benefit of others also!)
- link back to my site or this tutorial,
- tag me on Facebook or Instagram,
- share your version on my Facebook group!