If you love mid-century, you’ll love this set of mid-century modern dollhouse mirrors. It’s an easy project, too, making it a great one if you’re starting out on making miniatures with Cricut.
These miniature mirrors can be enlarged or made smaller to suit your preferred sizes! So they will work with any dollhouse miniature scales. Besides, there isn’t really any standard mirror size. Within a particular scale, you may have large mirrors or small ones, depending on function and style you want to achieve.
And because these mirrors are asymmetrical and free-form, the placement of the mirror onto the base doesn’t have to be exact. Did I mention easy?
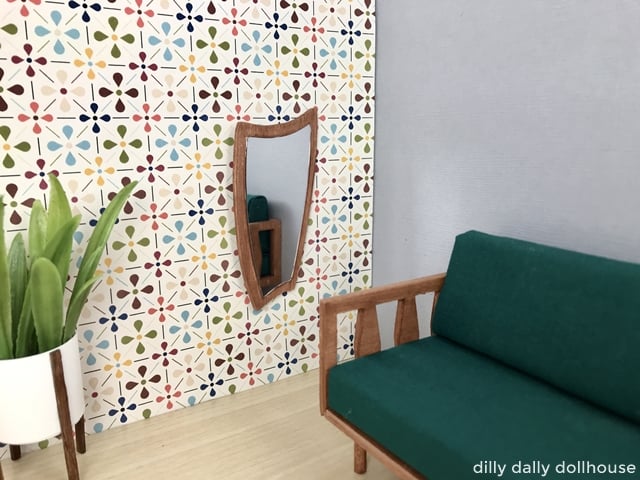
SVG FILE FOR MID-CENTURY DOLLHOUSE MIRRORS
The SVG files are available on Etsy! Just one set for any scale, as the elements can be resized to any measurements you wish.
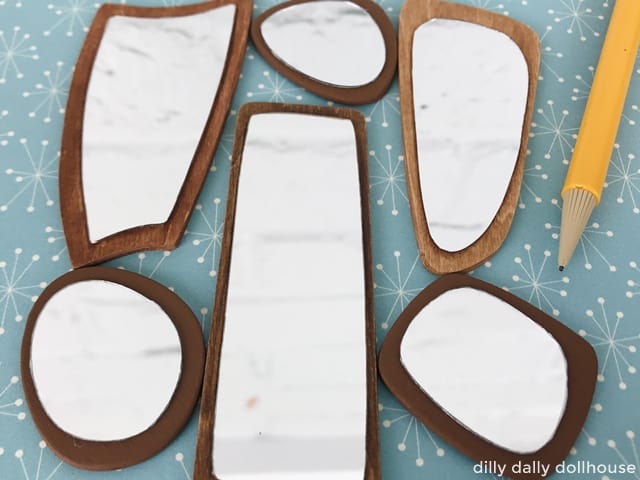
- SVG file for set of 6 mid-century dollhouse mirrors (for any miniature scale)
TOOLS & MATERIALS TO MAKE MID-CENTURY DOLLHOUSE MIRRORS
- 1/32″ basswood sheet (I recommend Midwest Products brand, this one is 4″ wide on eBay)
- Flexible mirror sheet
- Wood glue
- Gel stains or paint
- Optional: sealant (like Mod Podge) in satin
- Cricut Maker, Purple StrongGrip Mat and Knife blade
- Scissors
IMPORTING THE SVG FILES INTO CRICUT DESIGN SPACE
To import the SVG file into Cricut Design Space, head on to this post or watch this video on YouTube.
ASSEMBLY OF MID-CENTURY DOLLHOUSE MIRRORS
Here’s a little video I made to show the process of making these mirrors. I suggest you watch it as this post doesn’t have the assembly pictures. But, the video is self-explanatory. I also share some tips in the beginning, on how to work around the bendiness of basswood to make it stronger!
The instructions below are for making the mirrors using the tools and materials I suggested above.
Step 1: Prepare in Design Space
In Cricut Design Space, resize the base (brown) and mirror (blue) pieces of each mirror together, so they stay proportionate. Then duplicate the base piece(s), and rotate the second set by 90 degree.
Step 2: Prepare the base pieces
Cut the base (brown) pieces. Then glue them together. One side will show horizontal grain, the other vertical. Clamp to avoid curling/separation. Sand the edges to smooth out and hide the seam, then paint or stain. (Add a glossy coat if desired).
Step 3: Prepare the mirror
Cricut Maker is unable to cut through the flexible mirror sheet, so I just let it run a couple of passes on basswood setting to generate tracing lines. Then, cut the sheet with good ol’ scissors, and place it on the prepared base piece.
COMPLETE!
Easy peasy!
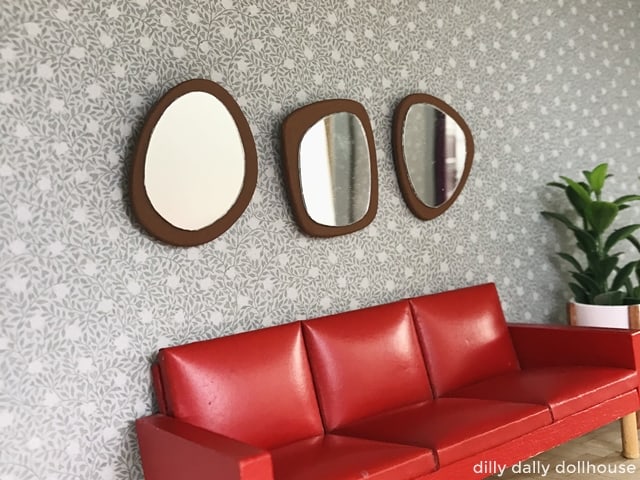
Check out these short mirrors that I just added… they’re great for grouping together above a sofa or a console ❤
RELATED PROJECTS
Made your own? I’d love to know!
What motivates me the most is seeing you use my tutorials to make your own minis! There are many ways you can share your projects:
- comment below to let me know (or if you have any questions about it–for the benefit of others also!)
- link back to my site or this tutorial,
- tag me on Facebook or Instagram,
- share your version on my Facebook group!

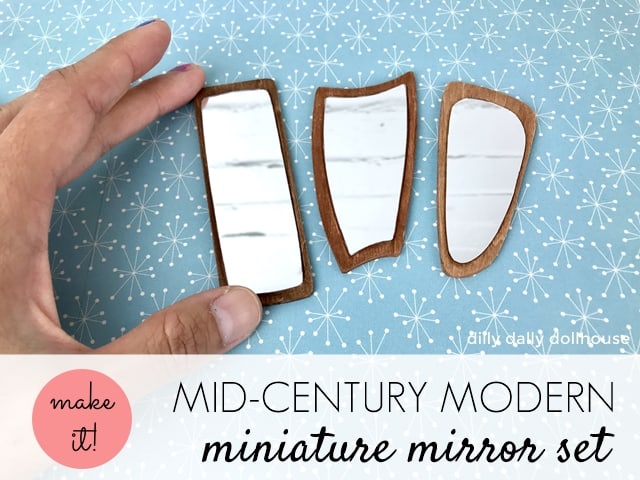
Do you have a tutorial for the couch in the last photo? Thanks!
I will, in a few months 🙂 It’s currently published in the American Miniaturist magazine issue no. 207/208 (the one with the two horses on the cover).