
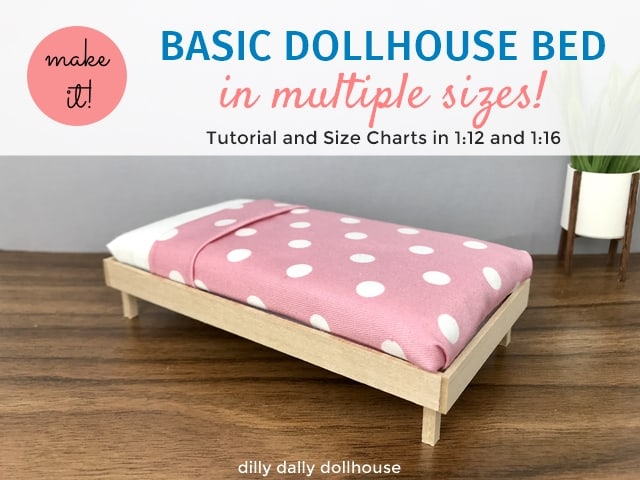
Why just a basic dollhouse bed? Well, think of this bed as a plain piece of bread that you can dress up with different spreads, i.e. the headboards.
I’d like to make different styles headboards, but don’t want to design the whole bed from scratch every time. So I came up with this basic bed frame that works with future headboards.
Yes, I still need to make a bed for each headboard, but at least the design of the bed frame itself is already done. So now I just need to design the headboards.
Adding a headboard to this bed frame is very easy, and I will show you how on the next post when the first headboard design is available. For now, let’s make a bed!
By the way, the mattress and blanket for this bed are no-sew. I try to make my projects not-too-complicated, so that we can go on to the next piece. (The real reason is I’m too lazy to set up my sewing machine–LOL!)
BASIC DOLLHOUSE BED MEASUREMENT CHART
Download/print the basic dollhouse bed measurement chart! The chart is for 1:16 and 1:12 scales in the following bed sizes:
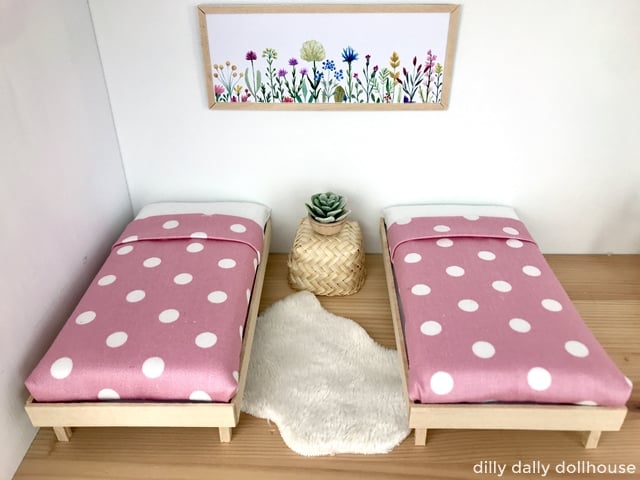
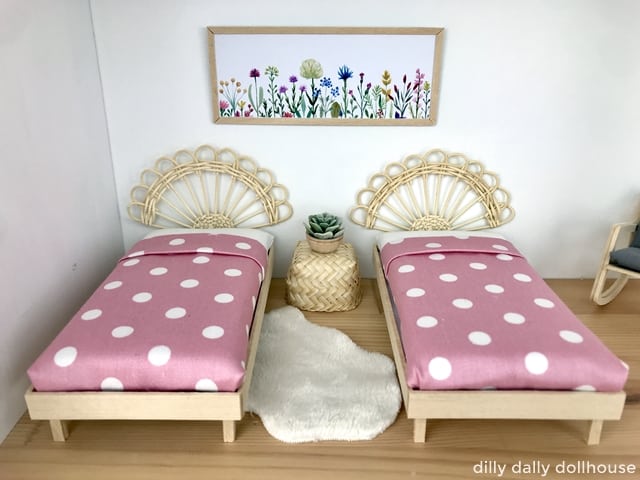
- Twin/single: Make a pair for children’s room. One will work as a daybed also.
- Full/double: This size seems to be a popular choice.
- Queen short: This size has the width of a queen, but with a shorter length (same length as a single or double), in case you want to save space).
- Queen: This size is the second most popular choice.
MATERIALS
The design of this bed is based on using 1/16″ thick material.
- 1/16″ basswood sheet
- I recommend MidWest Products basswood sheets in 8″ wide if you can find them, or at least 6″ wide (on eBay)
- Alternatively, 4-ply matboard (I used the matboard for the bedbases, since this part won’t be visible anyway).
- 1/8″ or 3/32″ dowel for the bed legs (I made some out of two 1/16″ basswood sheets)
- Foam core and/or batting for the mattress
- Lightweight fabric to wrap the mattress (I used an old pillow case)
- Cute lightweight fabric for blanket
- Fabric tape
- Dollhouse pillows (if available)
INSTRUCTIONS FOR THE BED
I apologize in advance for the weird colors of the instructions pictures. They hurt my eyes too!
Step 1: Cut your materials according to the chart.
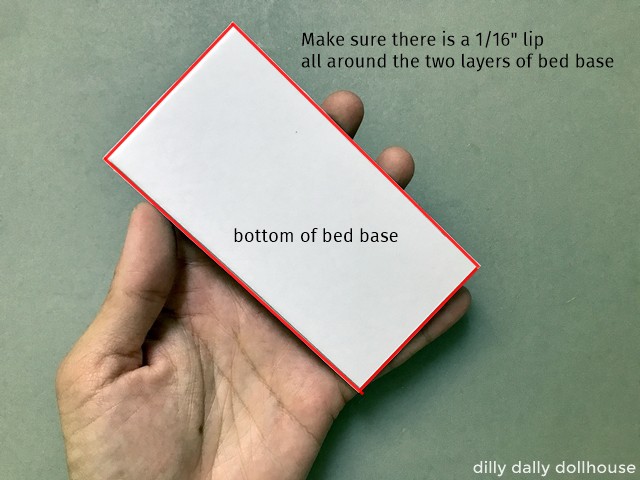
Step 2: Attach the two bed bases, leaving a 1/16″ lip all around as indicated by the red lines on this picture.
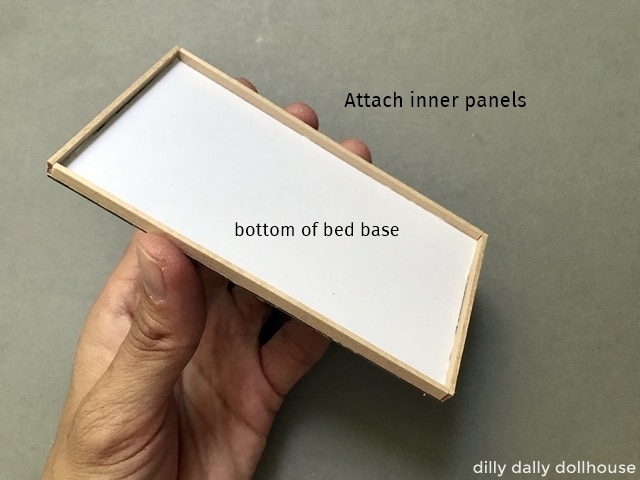
Step 3: Attach the thinner inner panels in the 1/16″ space all around the bed base.
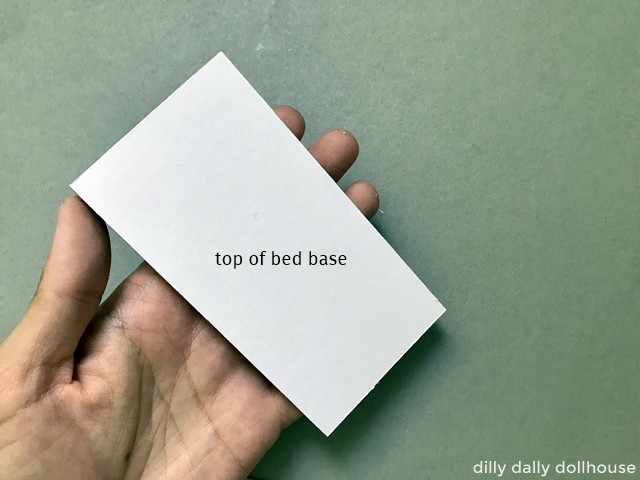
Step 4: Flip it over, so that now you see the top of the bed base. The inner panels are not visible from the top view.
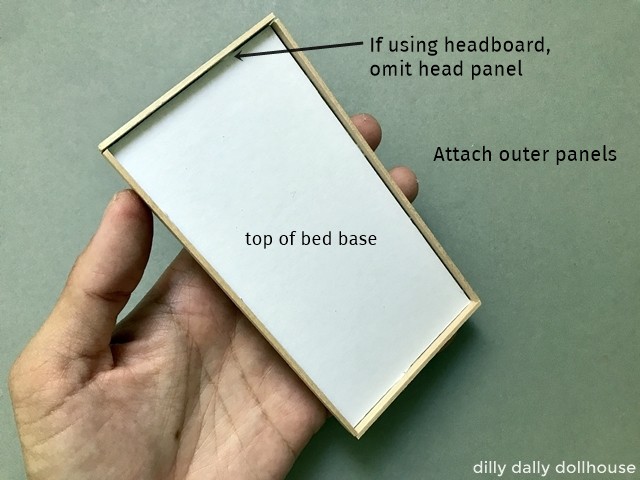
Step 5: Attach the wider outer panels all around. If using a headboard, you can omit one of the short panels and attach the headboard instead.
You’ll see that the outer panels extends above the bed base to partially enclose the mattress. It’s designed on purpose, to hide the uglies of the bottom of the mattress (you’ll see what I mean, soon!)
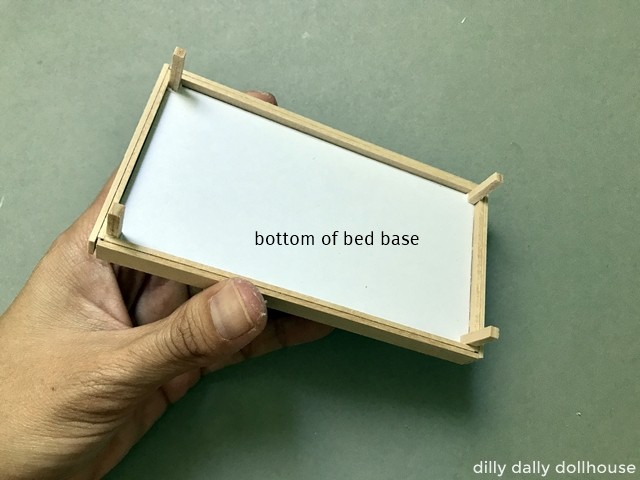
Step 6: Attach the legs. I glued the legs against the inner panels. Make sure everything stays square.
INSTRUCTIONS FOR THE MATTRESS
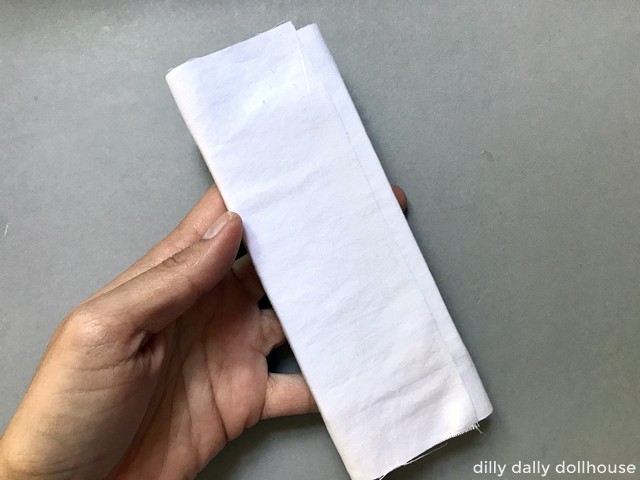
Step 1: Cut and stack the mattress layers.
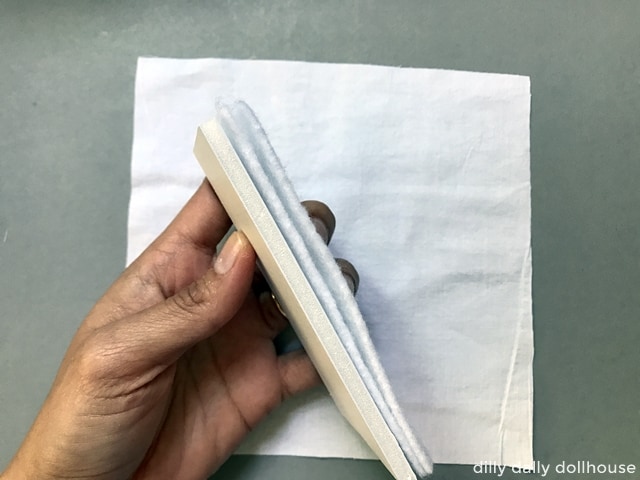
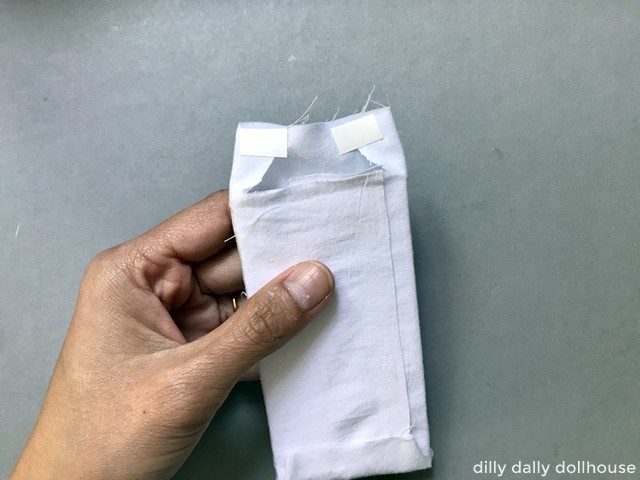
Step 2: Wrap it up with fabric, and tape it down with fabric tape or glue.
A side note: I would never call myself an “artist”. Maker, crafter, sure… but not artist, because of the way I make this blanket.
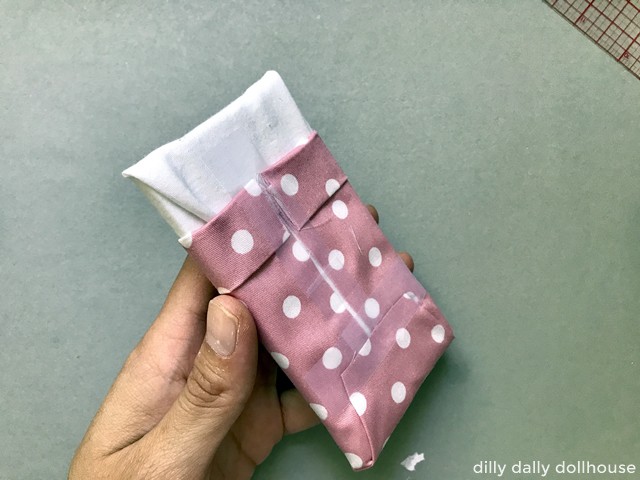
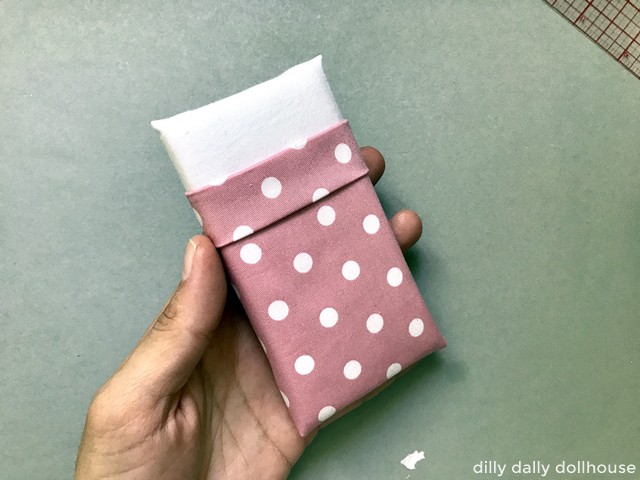
Step 3: Fold and press/iron the top portion of the cute blanket fabric.

Step 4: Wrap the fabric around the mattress, and tape it down with fabric tape. I used regular tape, just like Lundby did back in the 80’s. (Hey, if it’s good enough for Lundby, it’s good enough for me!)
See? Not an artist.
But I will take “magician”, because once you plop it in the bed…. voila! The uglies disappear!
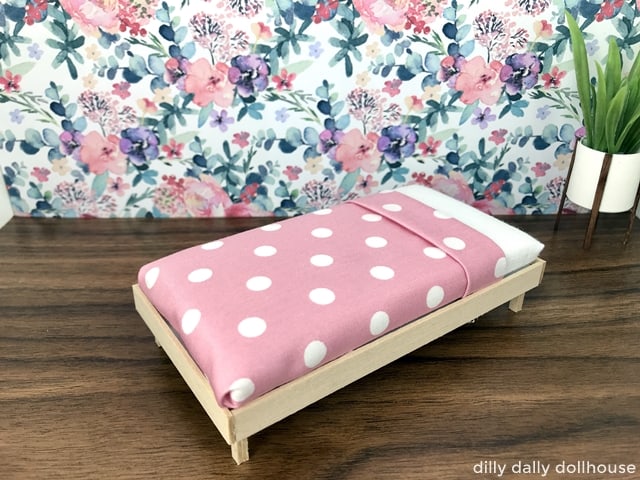
Complete!
I’ve been waiting for the opportunity to use these rattan ornaments as headboards. I used glue dots to attach them to the wall. Aren’t they just the boho-est?
Made your own? I’d love to know!
What motivates me the most is seeing you use my tutorials to make your own minis! There are many ways you can share your projects:
- comment below to let me know (or if you have any questions about it–for the benefit of others also!)
- link back to my site or this tutorial,
- tag me on Facebook or Instagram,
- share your version on my Facebook group!
On the bed chart thing, you write 60 x 81. What kind of unit though? Inches? Centimeters? Feet? (Probably not the last one, but I wouldn’t because there are no units)
Hi Eva, all in inches 🙂