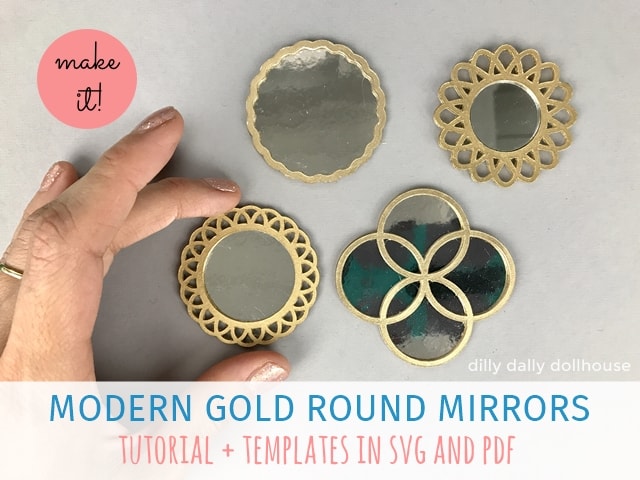
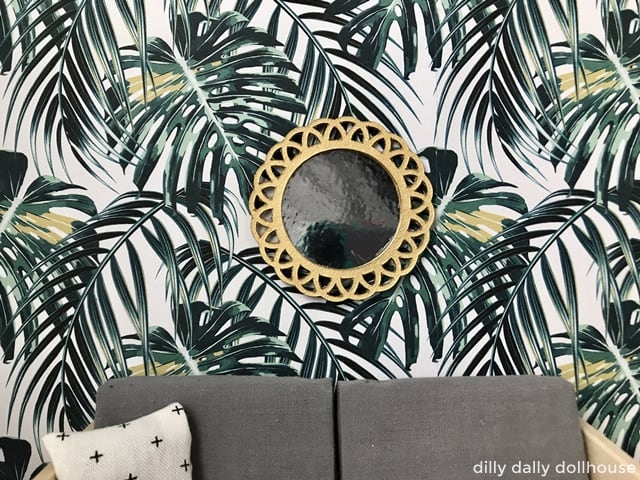
I set out to make just one mirror, and ended up with four of these miniature gold round mirrors. Actually I made more mirrors in other shapes as well (you may already know from my Instagram post). So yes, there will be more mirror templates in the near future.
These mirrors are made with stacked layers cardstock and painted gold. Much easier than metal or resin! Of course, you can color the frames in any color to fit your miniature decor style.
Psst…. a couple of miniature campaign dressers would make a great accompanying piece to these mirrors!
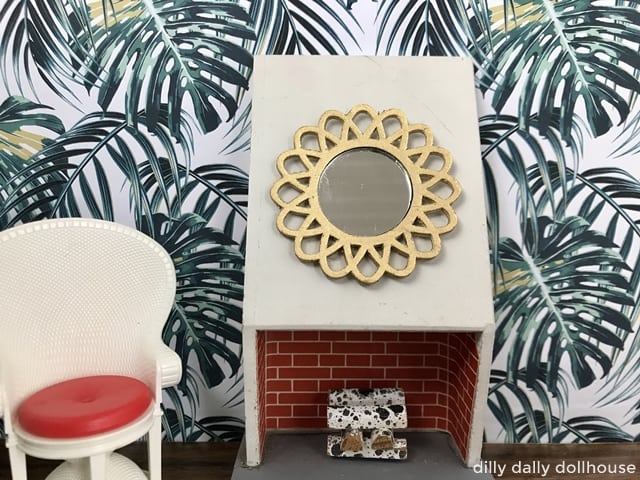
MATERIALS TO MAKE MINIATURE GOLD ROUND MIRRORS
- Cricut Maker (or other die-cut machines that can cut heavy cardstock), green StandardGrip mat, and fine-point blade
- Alternatively, use a good, sharp craft knife
- Heavy cardstock (100lb)
- The cardstock I use has a smooth surface. You can also use textured cardstock if you want a little bit of texture on your mirror frame.
- If you plan to print the mirror frames directly on cardstock, check to make sure your printer can print cardstock. My printer (Epson ET-4760) keeps getting paper jam when trying to print this 100lb cardstock, however it can print the 80lb version. So you may need to go with a thinner cardstock.
- Elmer’s Craft Bond glue stick
- Gold spray paint or marker
- Gold spray paint is recommended, as it’s easier to get into the corners and cavities.
- If using gold marker, you may need a small-tipped brush to get the color into the corners.
- Mirror material:
- Silver chrome/metallic vinyl (Cricut-friendly)
- Flexible mirror sheet (needs to be cut with scissors)
- 1″ round craft mirror (this works only with the “rattan” frame version 1)
TEMPLATES FOR THE MIRROR FRAMES
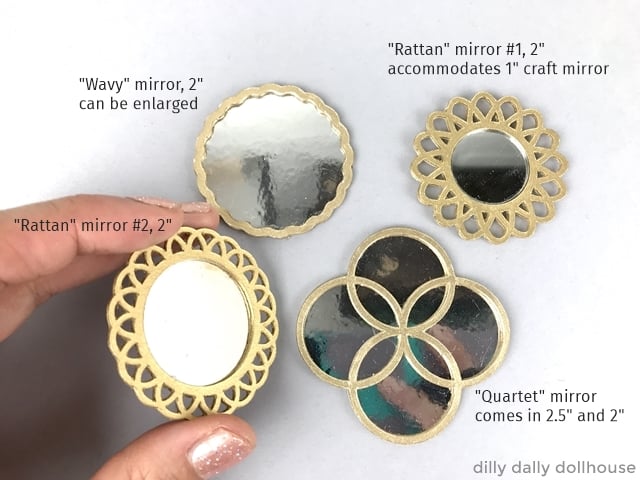
There are 4 templates for the mirror frames.
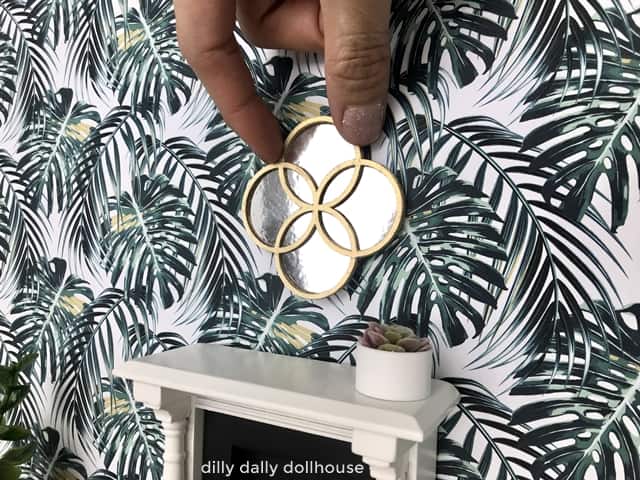
- The “quartet” mirror with 4 crossing circles comes in 2.5″ and 2″ sizes.
- This design is inspired by Anthropologie’s Quartet mirror, hence the name. I know, I’m not very creative with names.
- The “wavy” mirror comes in 2″ diameter, but it can be enlarged, if you prefer. Make sure to enlarge the backing by the same size.
- This design is originated from the the backing for the “rattan” version 2 below. I love how simple it is, but the waviness adds a bit of interest.
- The “rattan” mirror version 1 is 2″ and can accommodate 1″ craft mirror, if you prefer to use a real mirror.
- This design is inspired by Anthropologie’s discontinued rattan-bordered mirrors. I wanted to make it easier by using cardstock and might as well paint it gold. I made the version 2 first, but prefer this version 1 because it can fit a real mirror.
- The “rattan” version 2 is also 2″, with a bigger mirror surface compared to version 1.
- You can use the “wavy” backing for this mirror as well.
Both SVG and PDF files for the mirrors can be downloaded from the resource library (check under “miniature templates”). My resource library is where I house all PDF and SVG files for dollhouse miniatures. Subscribers can access the whole library for free! Just refer to my latest email to get the password.
Not a subscriber yet? Sign up here and you’ll receive the password after confirming your subscription.
IMPORT SVG FILE INTO CRICUT DESIGN SPACE
Go to this post on how to import into Cricut Design Space and resize the pieces to the correct dimension.
INSTRUCTIONS TO MAKE MINIATURE GOLD ROUND MIRRORS
Step 1: Cut the frames and mirror
Using Cricut or another die-cut machine, cut one (1) backing and three (3) of the frame. You could use only one layer of frame, though it wouldn’t have the depth like a real mirror frame does.
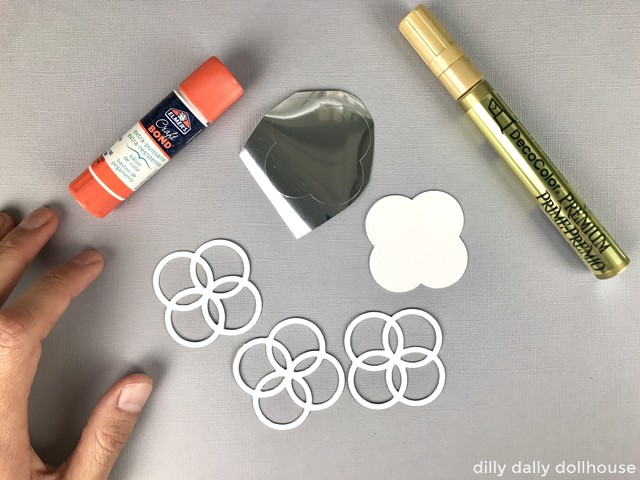
I use the Heavy Cardstock 100lb setting on Cricut. The default cuts only one pass, I did another pass to completely cut through. (I don’t recommend running a second pass on designs with lots of narrow/sharp corners, as it usually messes up said corners).
Using the backing template, cut chrome vinyl (with Cricut) or flexible mirror sheet (with scissors) for the mirror.
Step 2: Layer the frames
One layer at a time, dab (don’t drag) the glue stick to the back of the cardstock frame and attach to the second frame. Alight properly and press firmly to eliminate any gaping. Repeat for the last/third frame. Put under a heavy item (like an old college textbook) while the glue dries.
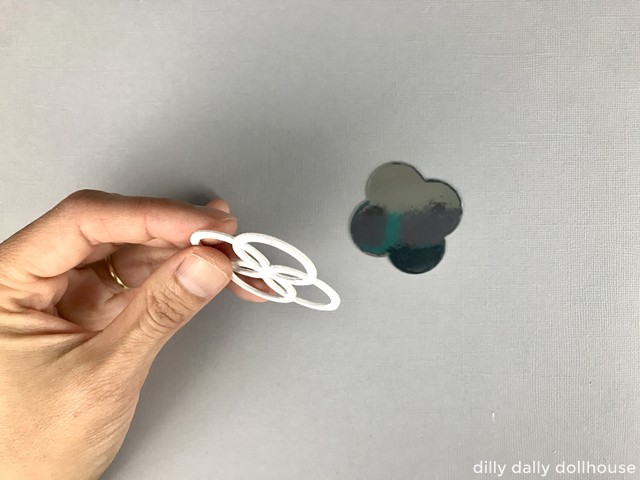
Step 3: Paint!
Spray paint the frame and backing. Make sure the corners and inner and outer edges are also covered.
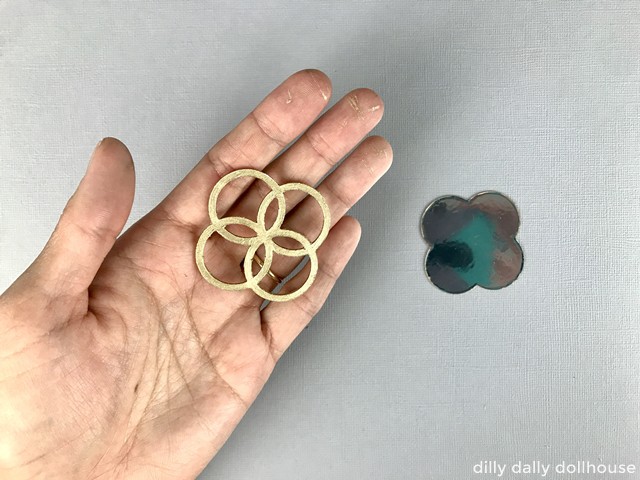
Step 4: Attach mirror to the backing
When the paint is dry, attach the vinyl/mirror to the backing. Align them as best as you can, and cut off excess mirror material that extends beyond the backing, so they don’t show.
If you’re making Rattan #1 with a 1″ craft mirror, place the mirror in the middle of the 1.2″ backing.
Step 5: Attach frame to the mirror
Dab glue on the back of the frame, and attach it to the mirrored backing. Again, put under a heavy book while the glue dries.
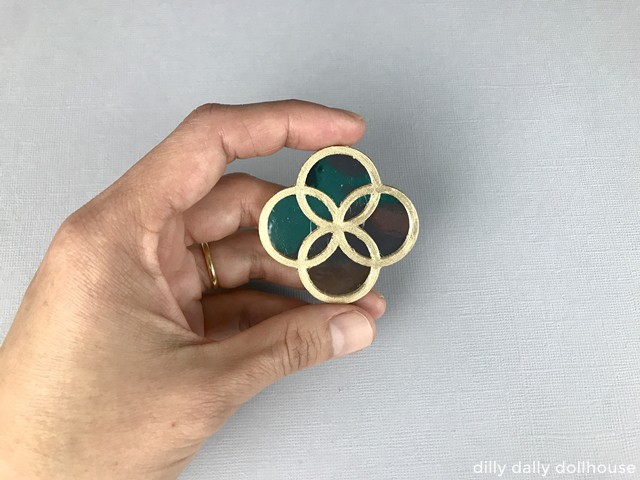
COMPLETE!
I love making these miniature gold round mirrors. They’re very versatile and an easy way to a touch of glam in any scenes.
Made your own? I’d love to know!
What motivates me the most is seeing you use my tutorials to make your own minis! There are many ways you can share your projects:
- comment below to let me know (or if you have any questions about it–for the benefit of others also!)
- link back to my site or this tutorial,
- tag me on Facebook or Instagram,
- share your version on my Facebook group!

